Get started with Gradle and Kotlin/JVM
This tutorial demonstrates how to use IntelliJ IDEA and Gradle to create a JVM console application.
To get started, first download and install the latest version of IntelliJ IDEA.
Create a project
In IntelliJ IDEA, select File | New | Project.
In the panel on the left, select Kotlin.
Name the new project and change its location, if necessary.
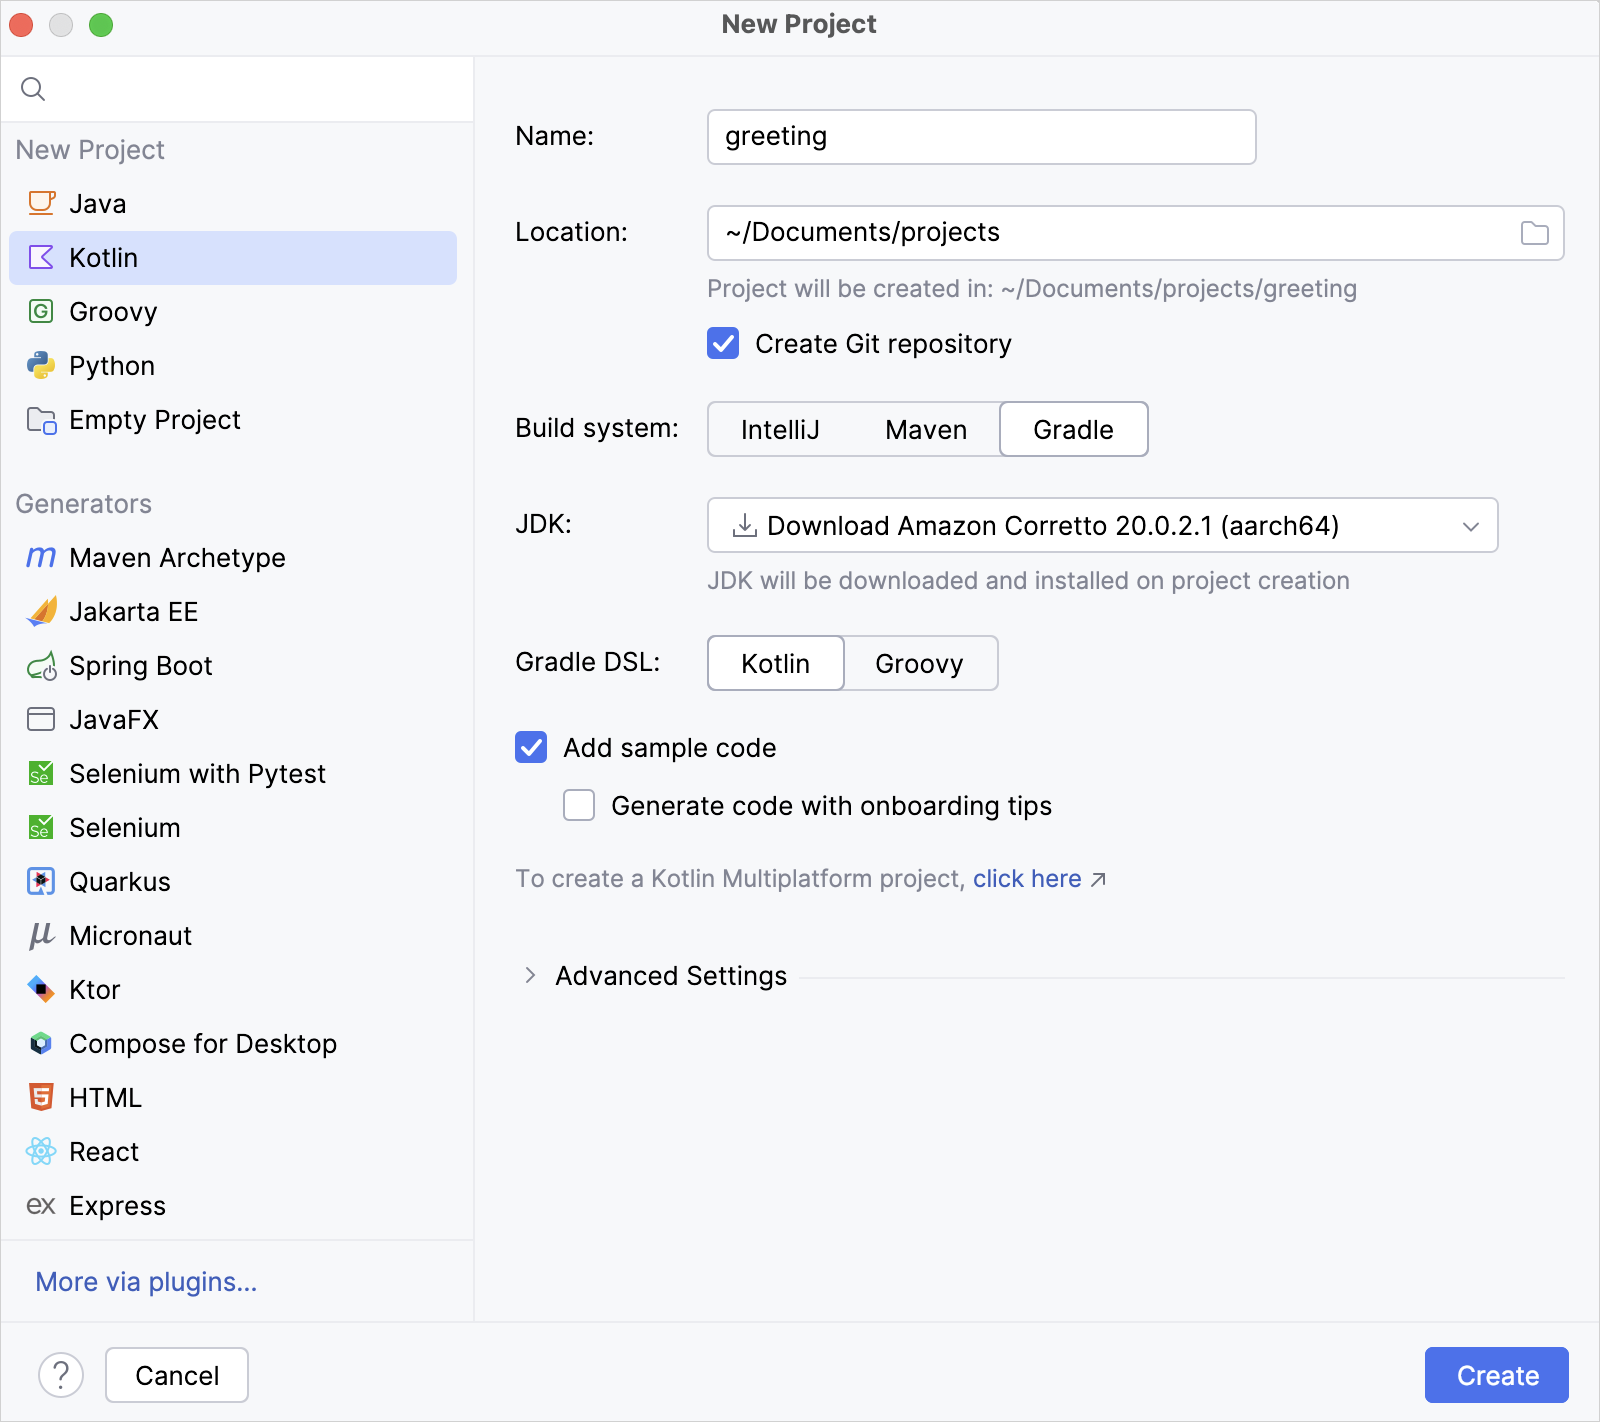
Select the Gradle build system.
From the JDK list, select the JDK that you want to use in your project.
If the JDK is installed on your computer, but not defined in the IDE, select Add JDK and specify the path to the JDK home directory.
If you don't have the necessary JDK on your computer, select Download JDK.
Select the Kotlin DSL for Gradle.
Select the Add sample code checkbox to create a file with a sample
"Hello World!"application.Click Create.
You have successfully created a project with Gradle!
Specify a Gradle version for your project
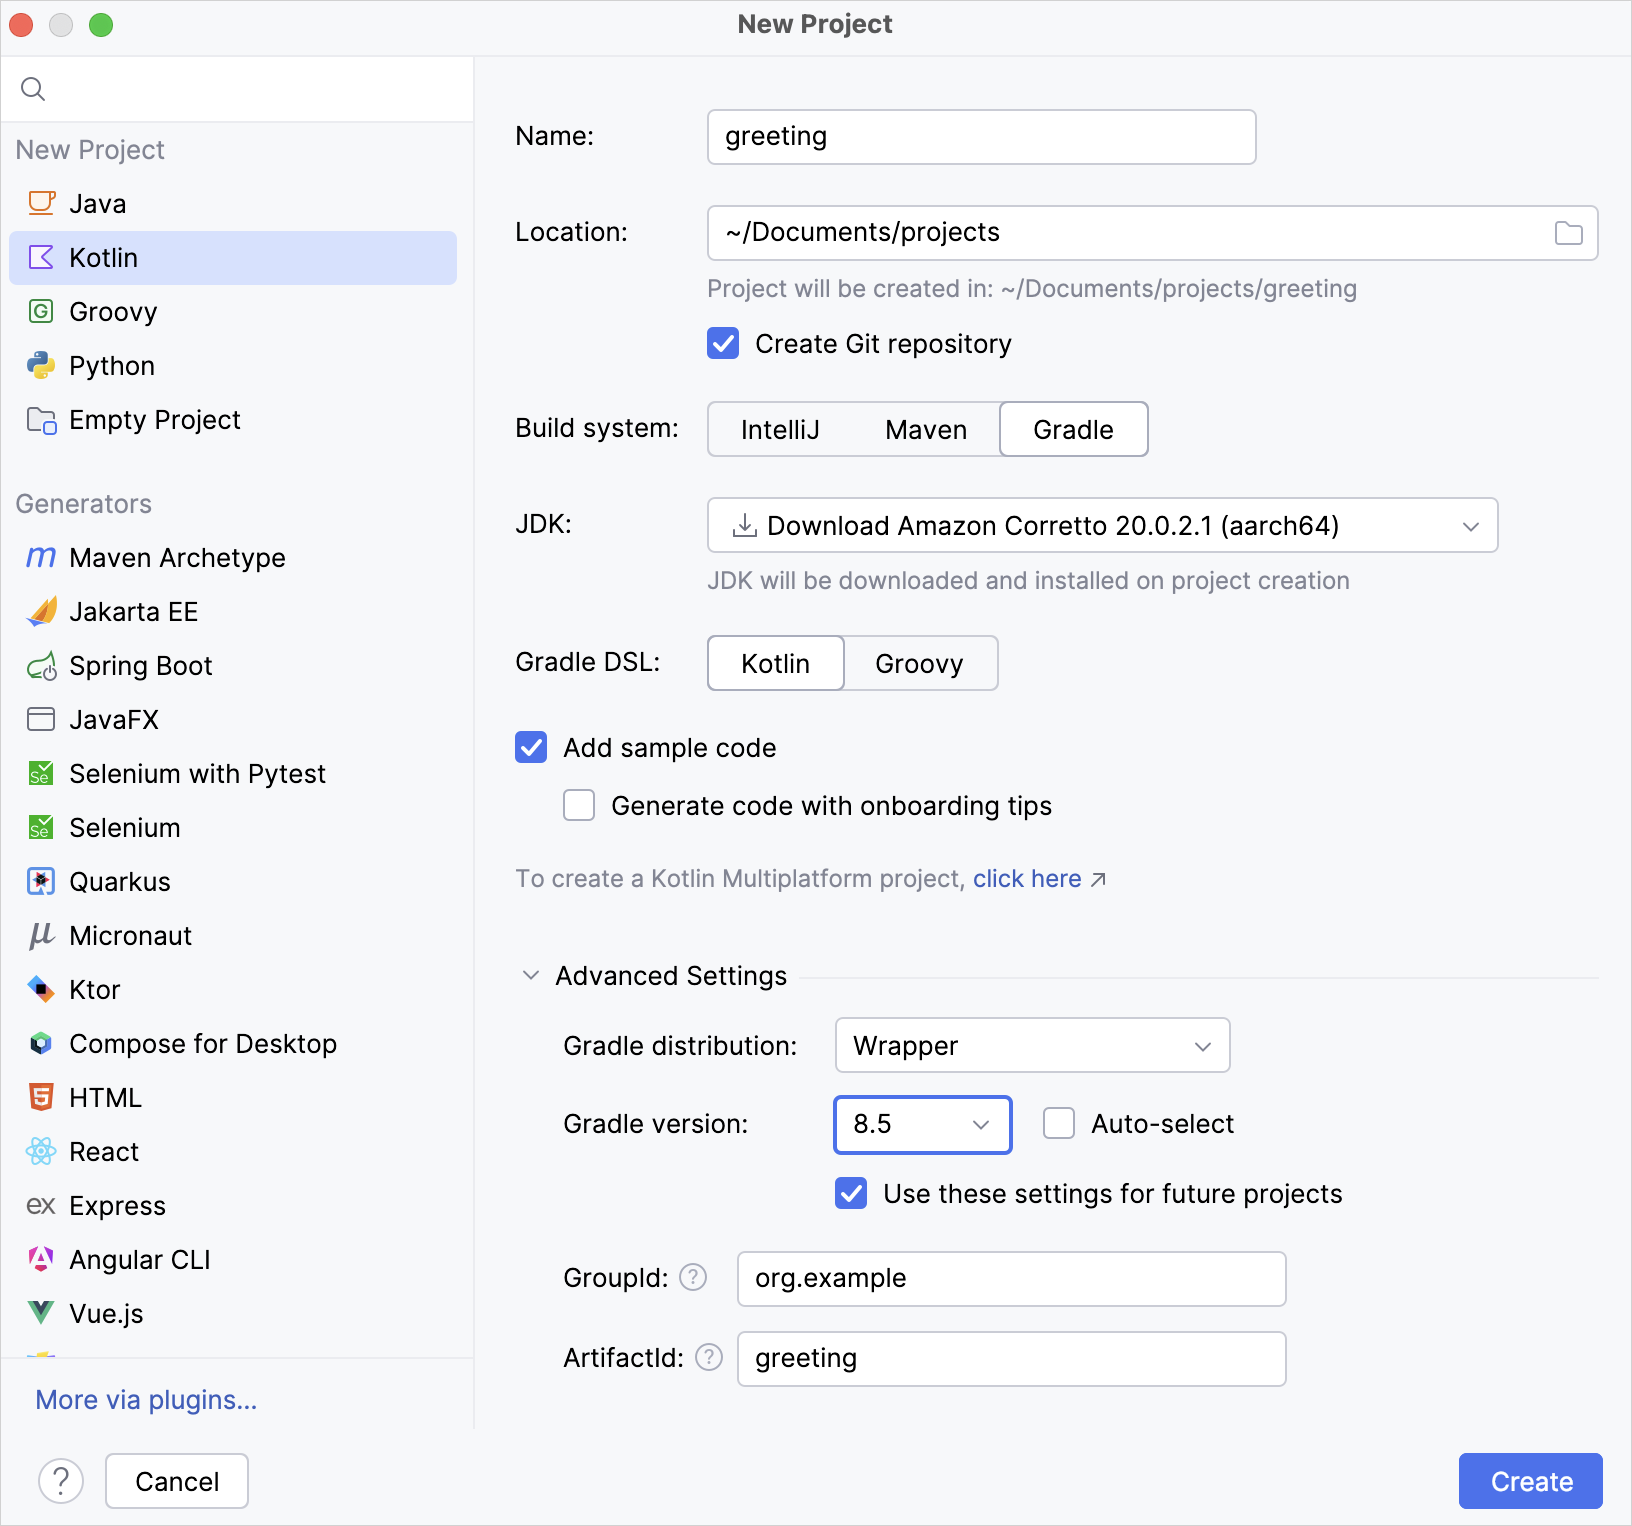
You can explicitly specify a Gradle version for your project under the Advanced Settings section, either by using the Gradle Wrapper or a local installation of Gradle:
Gradle Wrapper:
From the Gradle distribution list, select Wrapper.
Disable the Auto-select checkbox.
From the Gradle version list, select your Gradle version.
Local installation:
From the Gradle distribution list, select Local installation.
For Gradle location, specify the path of your local Gradle version.
Explore the build script
Open the build.gradle.kts file. This is the Gradle Kotlin build script, which contains Kotlin-related artifacts and other parts required for the application:
1️⃣ Lean more about sources of dependencies.
2️⃣ The Maven Central Repository. It can also be Google's Maven repository or your company's private repository.
3️⃣ Learn more about declaring dependencies.
4️⃣ Learn more about tasks.
As you can see, there are a few Kotlin-specific artifacts added to the Gradle build file:
In the
plugins {}block, there is thekotlin("jvm")artifact. This plugin defines the version of Kotlin to be used in the project.In the
dependencies {}block, there istestImplementation(kotlin("test")). Learn more about setting dependencies on test libraries.
Run the application
Open the Gradle window by selecting View | Tool Windows | Gradle:
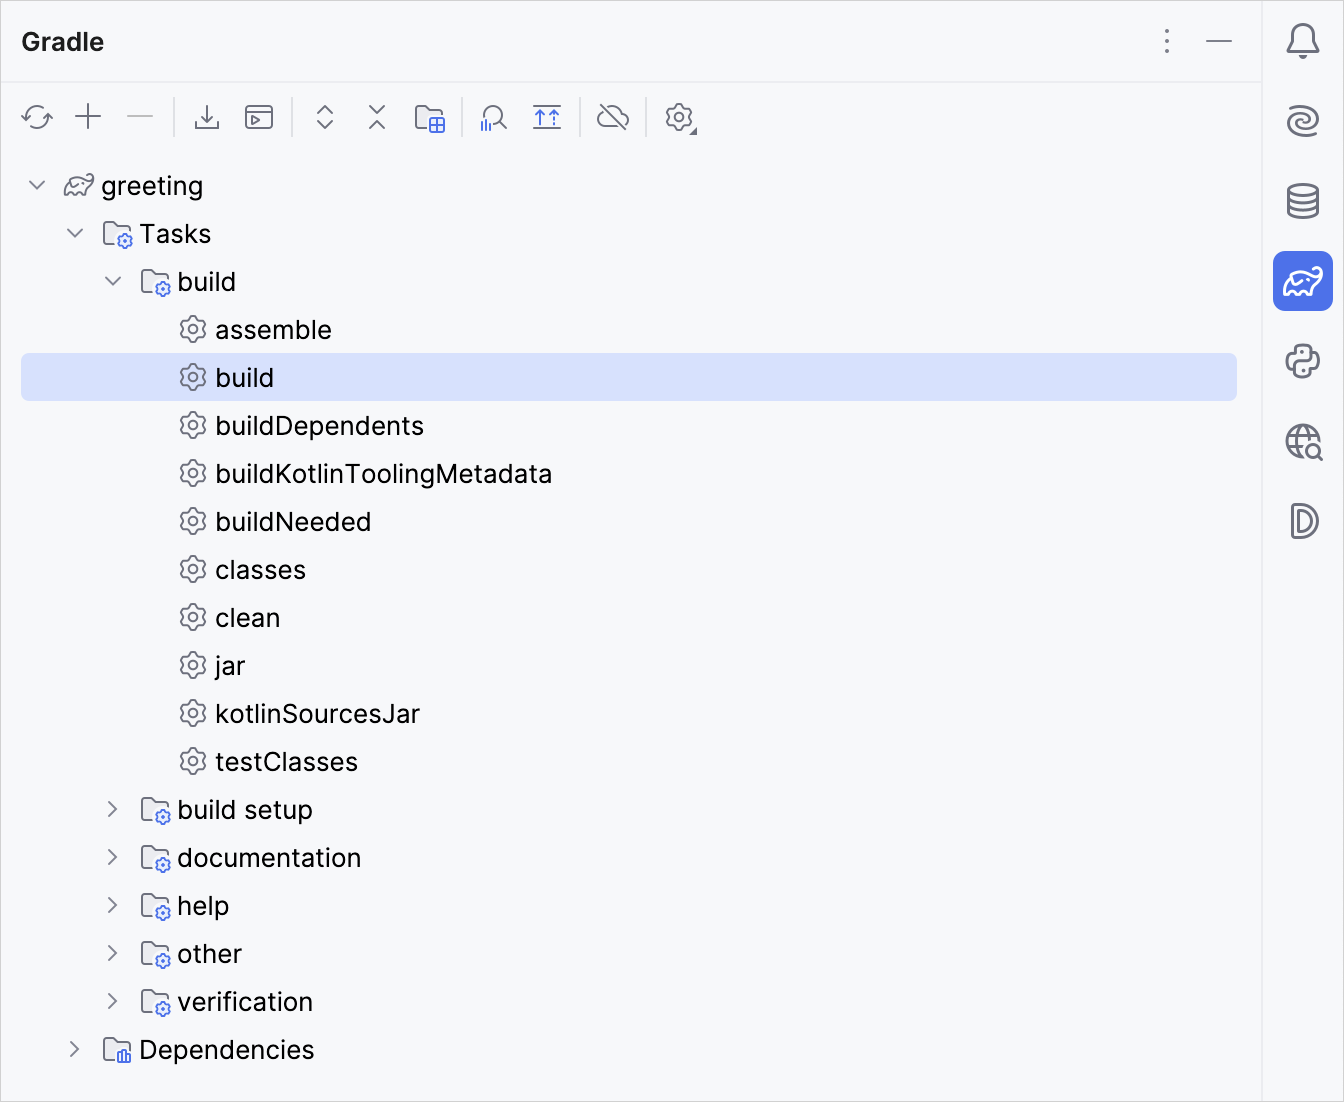
Execute the build Gradle task in
Tasks\build\. In the Build window,BUILD SUCCESSFULappears. It means that Gradle built the application successfully.In
src/main/kotlin, open theMain.ktfile:srcdirectory contains Kotlin source files and resources.Main.ktfile contains sample code that will printHello World!.
Run the application by clicking the green Run icon in the gutter and select Run 'MainKt'.
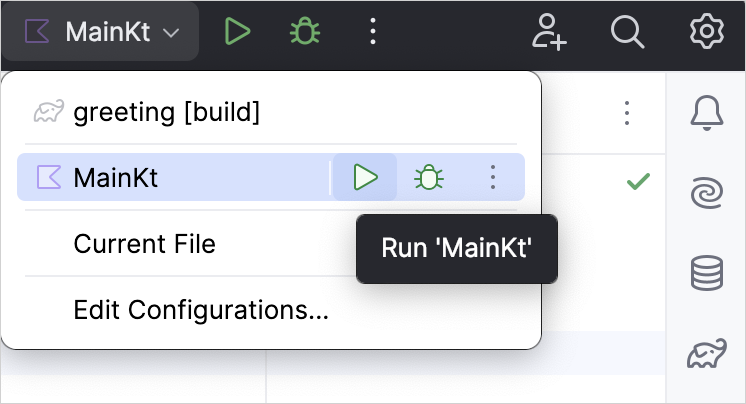
You can see the result in the Run tool window:
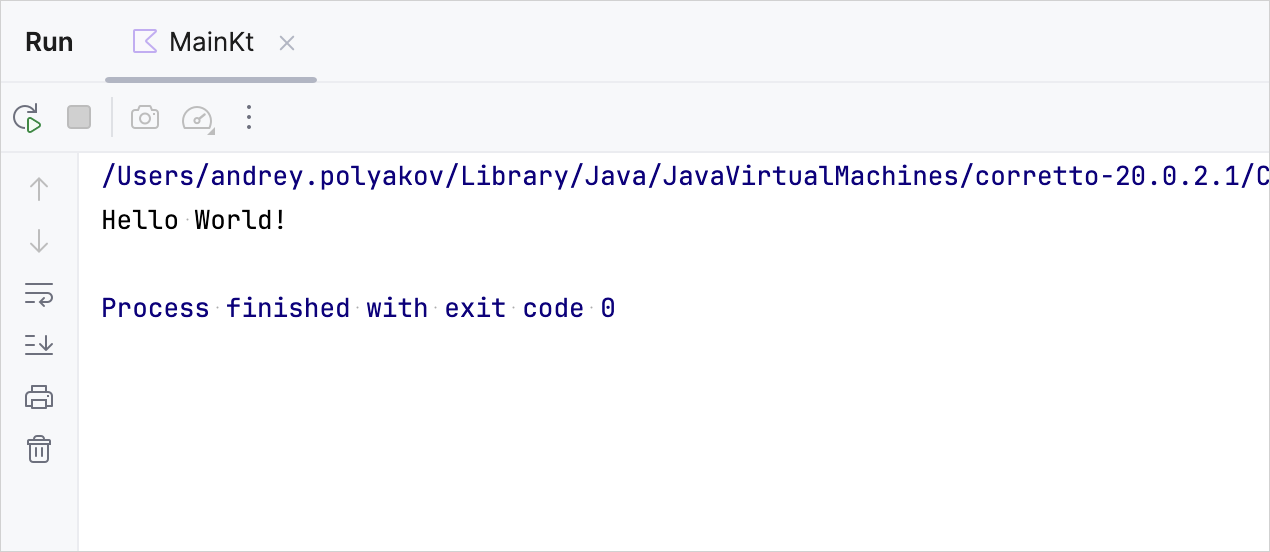
Congratulations! You have just run your first Kotlin application.
What's next?
Learn more about: