Get started with Kotlin/JS
This tutorial shows how to create a web application for the browser using Kotlin/JavaScript (Kotlin/JS). To create your app, choose the tool that best fits your workflow:
IntelliJ IDEA: clone the project template from version control and work on it in IntelliJ IDEA.
Gradle build system: create build files for your project manually to better understand how the setup works under the hood.
Create your application in IntelliJ IDEA
To create your Kotlin/JS web application, you can use either the Community or Ultimate edition of IntelliJ IDEA.
Set up the environment
Download and install the latest version of IntelliJ IDEA.
Set up your environment for Kotlin Multiplatform development.
Create your project
In IntelliJ IDEA, select File | New | Project from Version Control.
Enter the URL of the Kotlin/JS template project:
https://github.com/Kotlin/kmp-js-wizardClick Clone.
Configure your project
Open the
kmp-js-wizard/gradle/libs.versions.tomlfile. It contains the version catalog for project dependencies.Make sure the Kotlin version matches the version of the Kotlin Multiplatform Gradle plugin, which is required to create a web application targeting Kotlin/JS:
[versions] kotlin = "2.3.10" [plugins] kotlin-multiplatform = { id = "org.jetbrains.kotlin.multiplatform", version.ref = "kotlin" }Synchronize the Gradle files (if you updated the
libs.versions.tomlfile). Click the Load Gradle Changes icon that appears in your build file.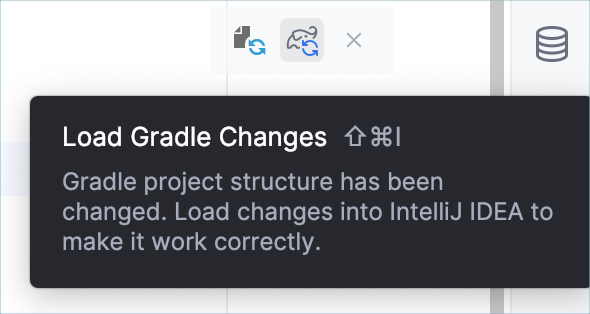
Alternatively, click the refresh button in the Gradle tool window.
For more information about the Gradle configuration for multiplatform projects, see the Multiplatform Gradle DSL reference.
Build and run the application
Open the
src/jsMain/kotlin/Main.ktfile.The
src/jsMain/kotlin/directory contains the main Kotlin source files for the JavaScript target of your project.The
Main.ktfile includes code that uses thekotlinx.browserAPI to render "Hello, Kotlin/JS!" on the browser page.
Click the Run icon in the
main()function to run the code.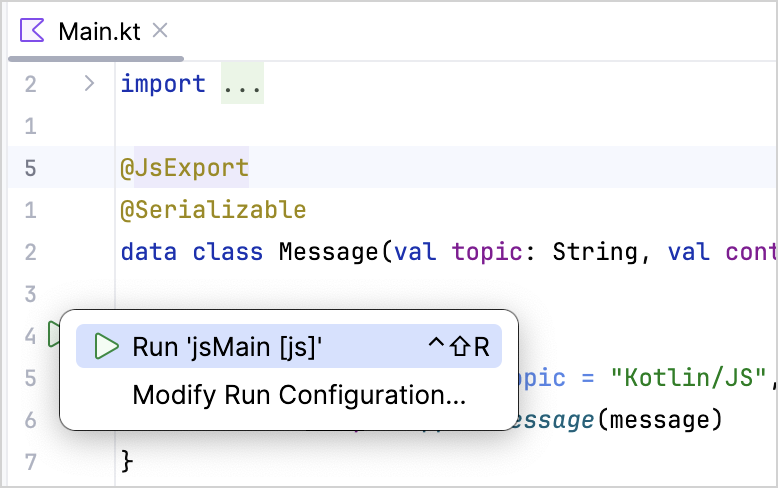
The web application opens automatically in your browser. Alternatively, you can open the following URL in your browser when the run is finished:
You can see the web application:
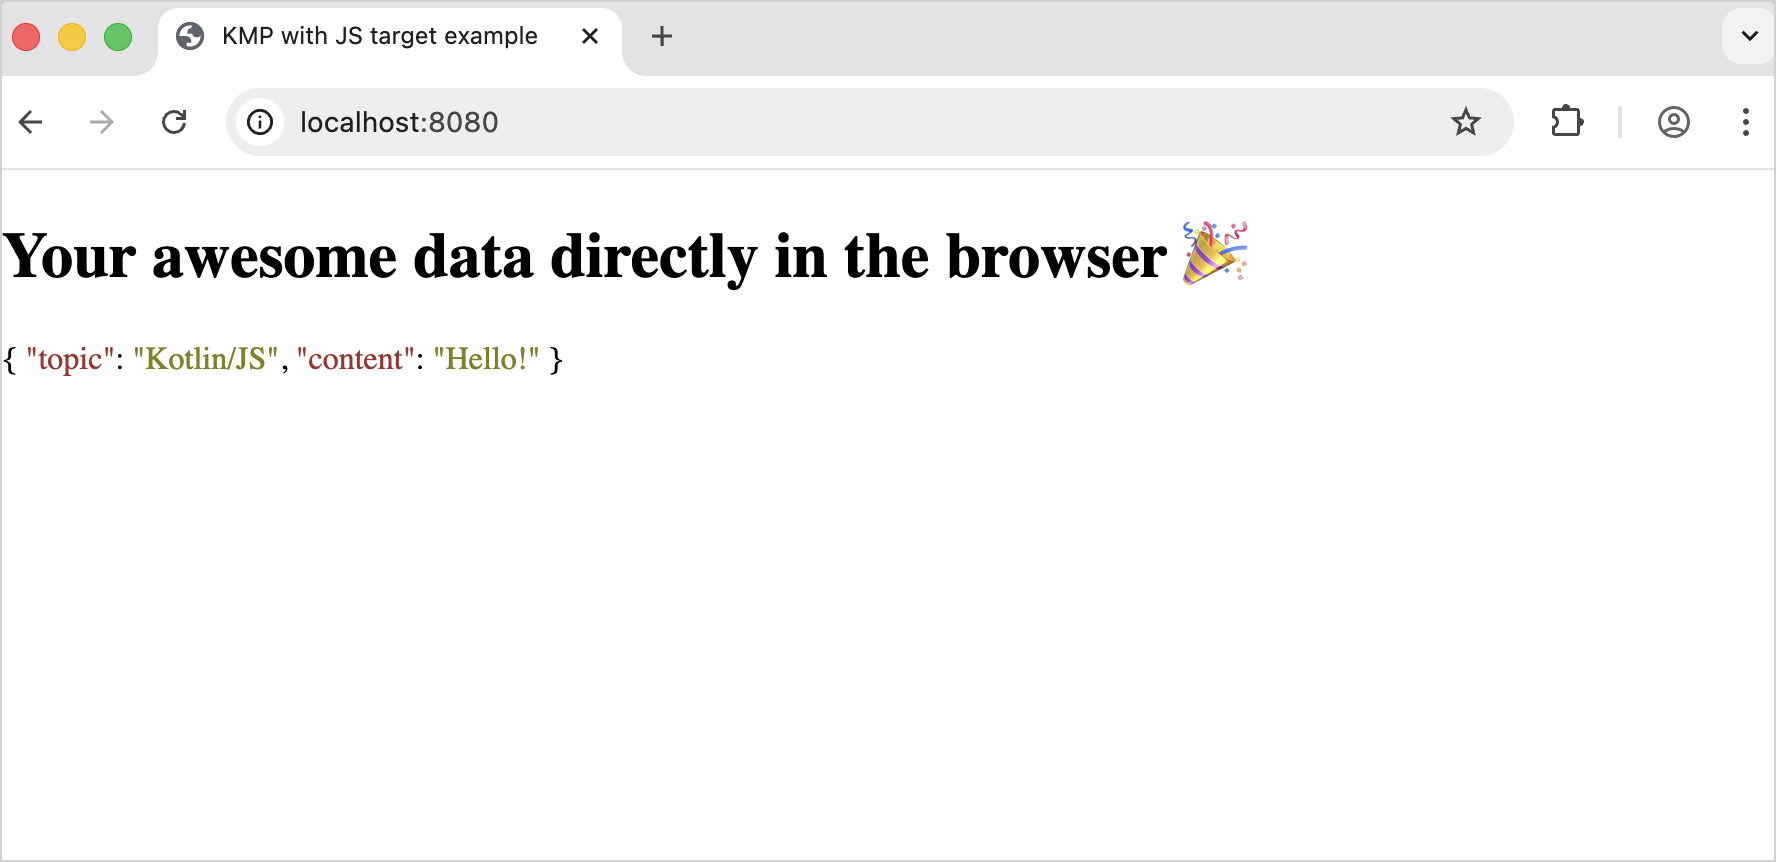
After you run the application for the first time, IntelliJ IDEA creates its corresponding run configuration (jsMain [js]) at the top bar:

Enable continuous build
Gradle can automatically rebuild your project whenever you make changes:
Select jsMain [js] in the list of run configurations and click More Actions | Edit.
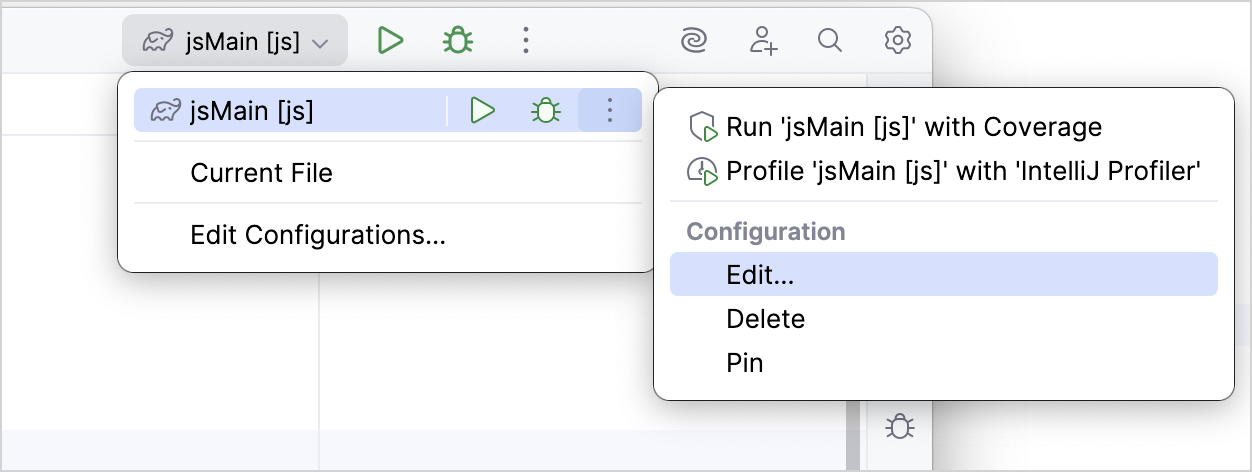
In the Run/Debug Configurations dialog, enter
jsBrowserDevelopmentRun --continuouswithin the Run field.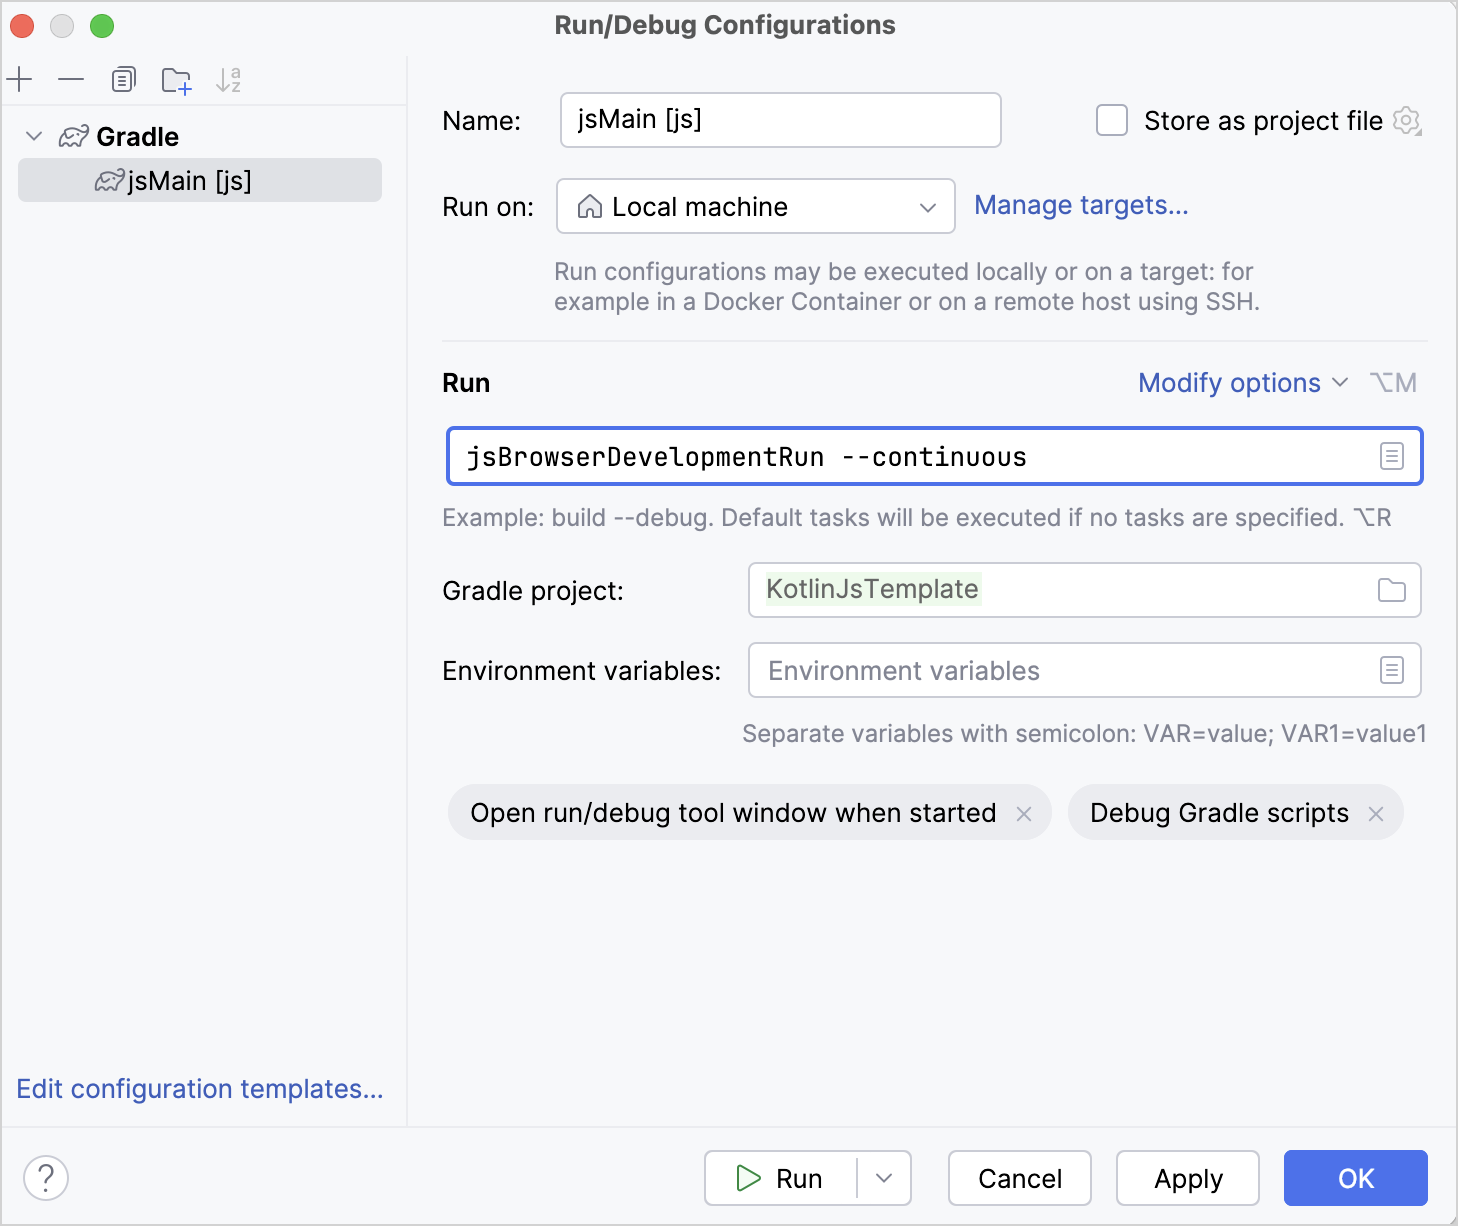
Click OK.
Now, when you run the application and make any changes, Gradle automatically performs incremental builds for the project and hot-reloads the browser whenever you save (Ctrl + S/Cmd + S) or change a class file.
Modify the application
Modify the application to add a feature that counts the number of letters in a word.
Add an input element
In the
src/jsMain/kotlin/Main.ktfile, add an HTML input element through an extension function to read user input:// Replace the Element.appendMessage() function fun Element.appendInput() { val input = document.createElement("input") appendChild(input) }Call the
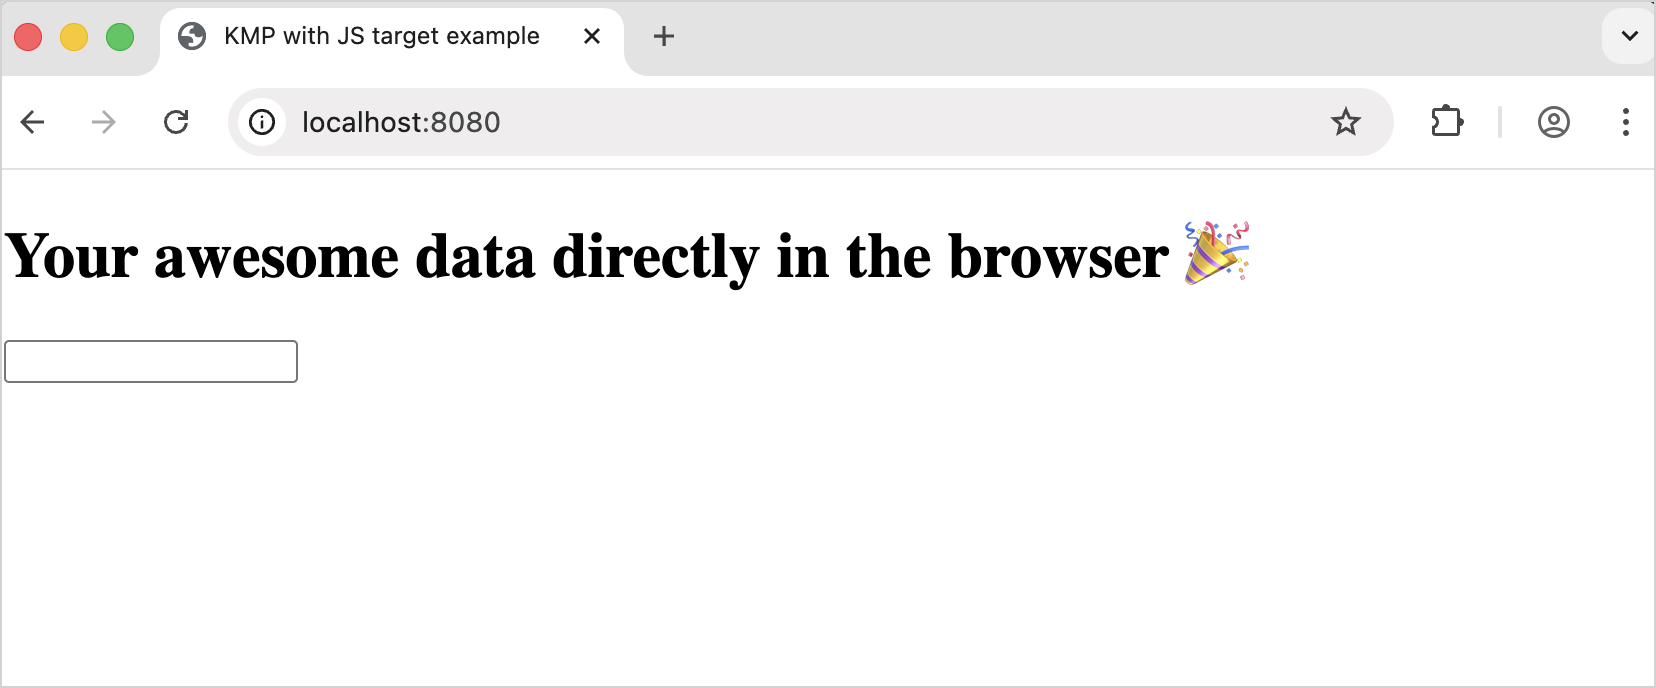
appendInput()function inmain(). It displays an input element on the page:fun main() { // Replace document.body!!.appendMessage(message) document.body?.appendInput() }Your application looks like this:
Add an input event handling
Add a listener inside the
appendInput()function to read the input value and react to changes:// Replace the current appendInput() function fun Element.appendInput(onChange: (String) -> Unit = {}) { val input = document.createElement("input").apply { addEventListener("change") { event -> onChange(event.target.unsafeCast<HTMLInputElement>().value) } } appendChild(input) }Follow the IDE's suggestions to import the
HTMLInputElementdependency.
Call the
onChangecallback inmain(). It reads and handles the input value:fun main() { // Replace document.body?.appendInput() document.body?.appendInput(onChange = { println(it) }) }
Add an output element
Add a text element to display the output by defining an extension function that creates a paragraph:
fun Element.appendTextContainer(): Element { return document.createElement("p").also(::appendChild) }Call the
appendTextContainer()function inmain(). It creates the output element:fun main() { // Creates a text container for our output // Replace val message = Message(topic = "Kotlin/JS", content = "Hello!") val output = document.body?.appendTextContainer() // Reads the input value document.body?.appendInput(onChange = { println(it) }) }
Process the input to count the letters
Process the input by removing whitespace and displaying the output with the number of letters.
Add the following code to the appendInput() function within the main() function:
From the code above:
The
replace()function removes the empty spaces in the name.The
let{}scope function runs the function within the object context.The string template (
${it.length}) inserts the word's length into the string by prefixing it with a dollar sign ($) and enclosing it in curly braces ({}). Whereasitis the default name of a lambda parameter.
Run the application
Enter your name.
Press Enter.
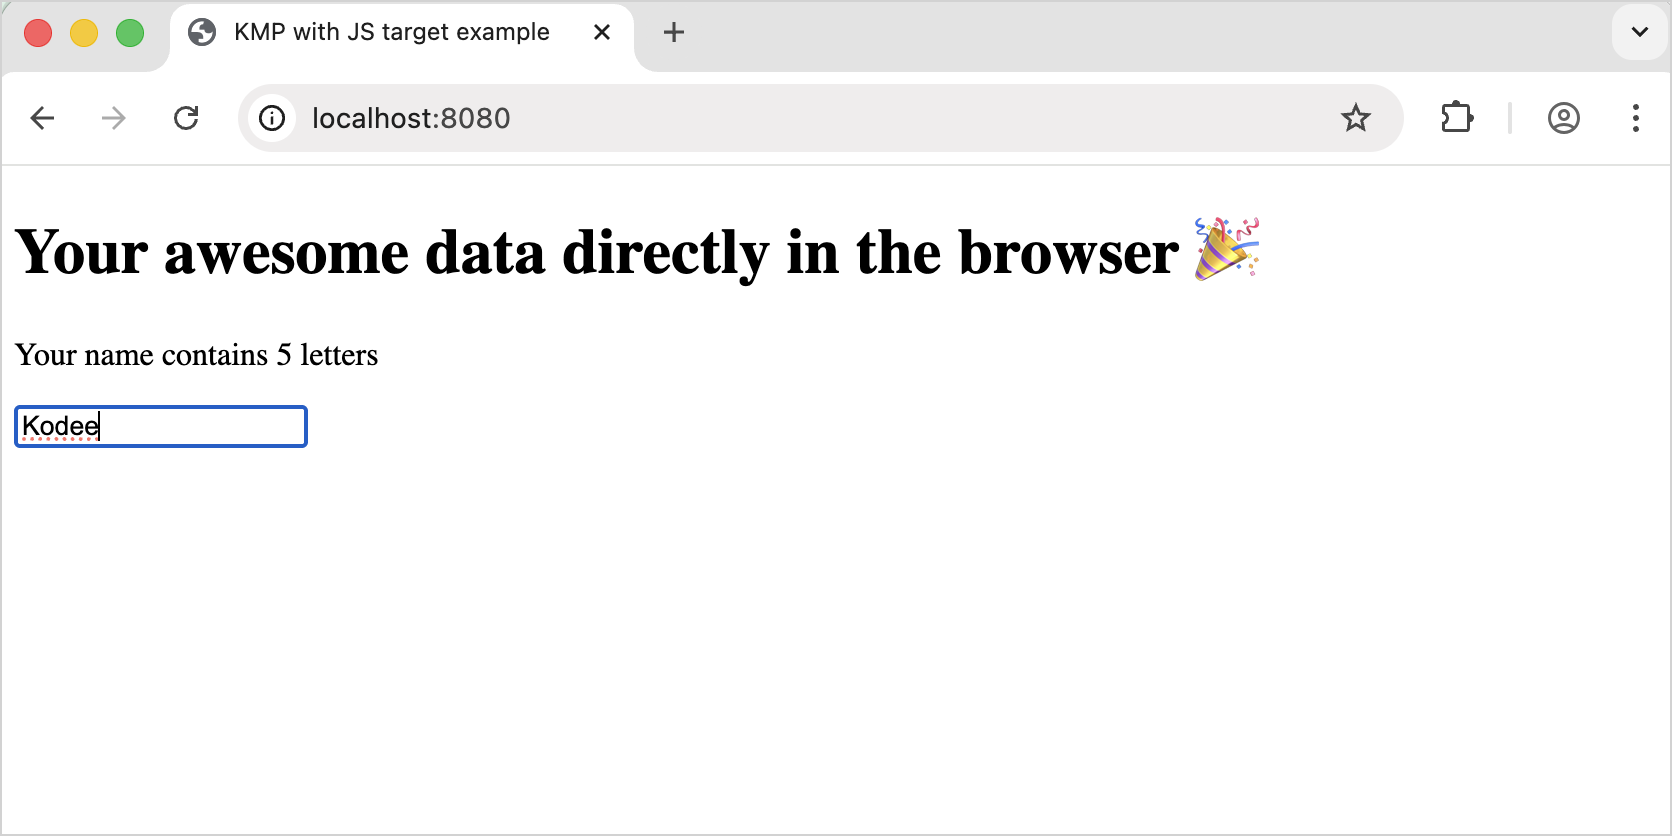
You can see the result:
Process the input to count unique letters
As an additional exercise, let's process the input to calculate and display the number of unique letters in the word:
In the
src/jsMain/kotlin/Main.ktfile, add the.countDistinctCharacters()extension function forString:fun String.countDistinctCharacters() = lowercase().toList().distinct().count()From the code above:
The
.lowercase()function converts the name to lowercase.The
toList()function converts the input string to a list of characters.The
distinct()function selects only the distinct characters from the word.The
count()function counts the distinct characters.
Call the
.countDistinctCharacters()function inmain(). It counts the unique letters in your name:fun main() { // Creates a text container for our output val output = document.body?.appendTextContainer() // Reads the input value document.body?.appendInput(onChange = { name -> name.replace(" ", "").let { // Prints the number of unique letters // Replace output?.textContent = "Your name contains ${it.length} letters" output?.textContent = "Your name contains ${it.countDistinctCharacters()} unique letters" } }) }Follow the steps to run the application and enter your name.
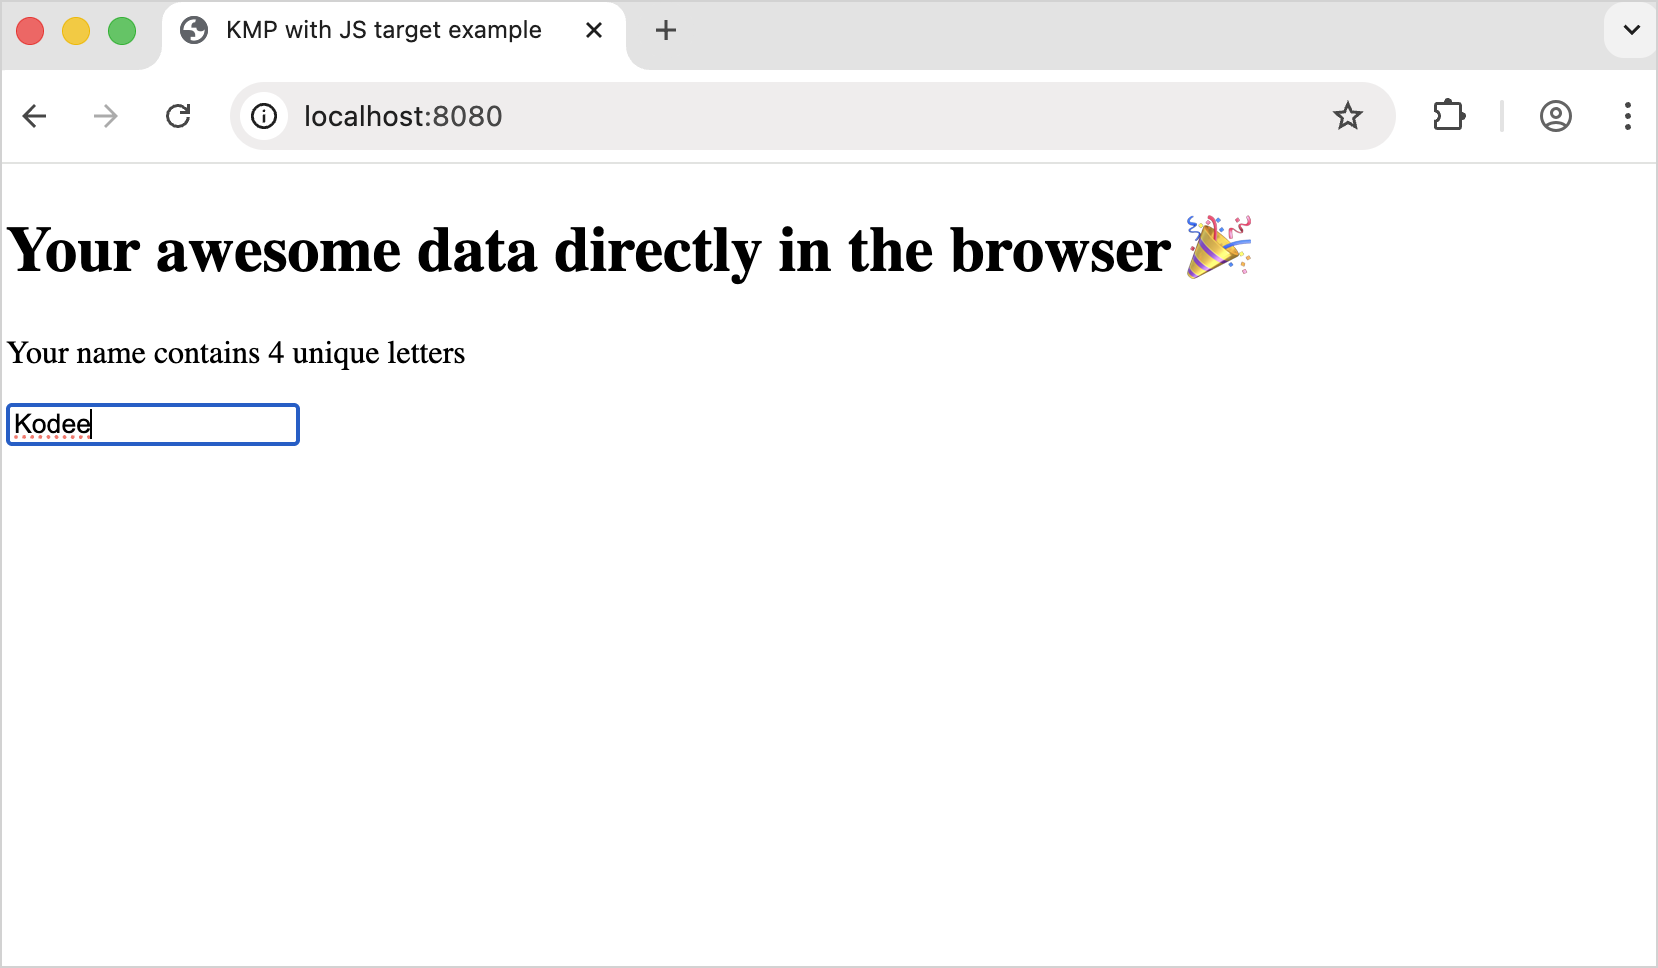
You can see the result:
Create your application using Gradle
In this section, you can learn how to manually create a Kotlin/JS application using Gradle.
Gradle is the default build system for Kotlin/JS and Kotlin Multiplatform projects. It is also commonly used in Java, Android, and other ecosystems.
Create project files
Make sure you use a Gradle version that is compatible with the Kotlin Gradle plugin (KGP). See the compatibility table for more details.
Create an empty directory for your project using your file explorer, the command line, or any tool you prefer.
Inside the project directory, create a
build.gradle.ktsfile with the following content:// build.gradle.kts plugins { kotlin("multiplatform") version "2.3.10" } repositories { mavenCentral() } kotlin { js { // Use browser() for running in a browser or nodejs() for running in Node.js browser() binaries.executable() } }// build.gradle plugins { id 'org.jetbrains.kotlin.multiplatform' version '2.3.10' } repositories { mavenCentral() } kotlin { js { // Use browser() for running in a browser or nodejs() for running in Node.js browser() binaries.executable() } }Within the project directory, create an empty
settings.gradle.ktsfile.Within the project directory, create a
src/jsMain/kotlindirectory.Inside the
src/jsMain/kotlindirectory, add ahello.ktfile with the following content:fun main() { println("Hello, Kotlin/JS!") }By convention, all sources are located in the
src/<target name>[Main|Test]/kotlindirectory:Mainis the location for the source code.Testis the location for tests.<target name>corresponds to the target platform (jsin this case).
For the browser environment
Within the project directory, create a
src/jsMain/resourcesdirectory.Inside the
src/jsMain/resourcesdirectory, create anindex.htmlfile with the following content:<!DOCTYPE html> <html lang="en"> <head> <meta charset="UTF-8"> <title>Application title</title> </head> <body> <script src="$NAME_OF_YOUR_PROJECT_DIRECTORY.js"></script> </body> </html>Replace the
<$NAME_OF_YOUR_PROJECT_DIRECTORY>placeholder with the name of your project directory.
Build and run the project
To build the project, run the following command from the root project directory:
If you are using the browser environment, you can see that the browser opens the index.html file and prints "Hello, Kotlin/JS!" to the browser console. You can open the console using the Ctrl + Shift + J/Cmd + Option + J commands.
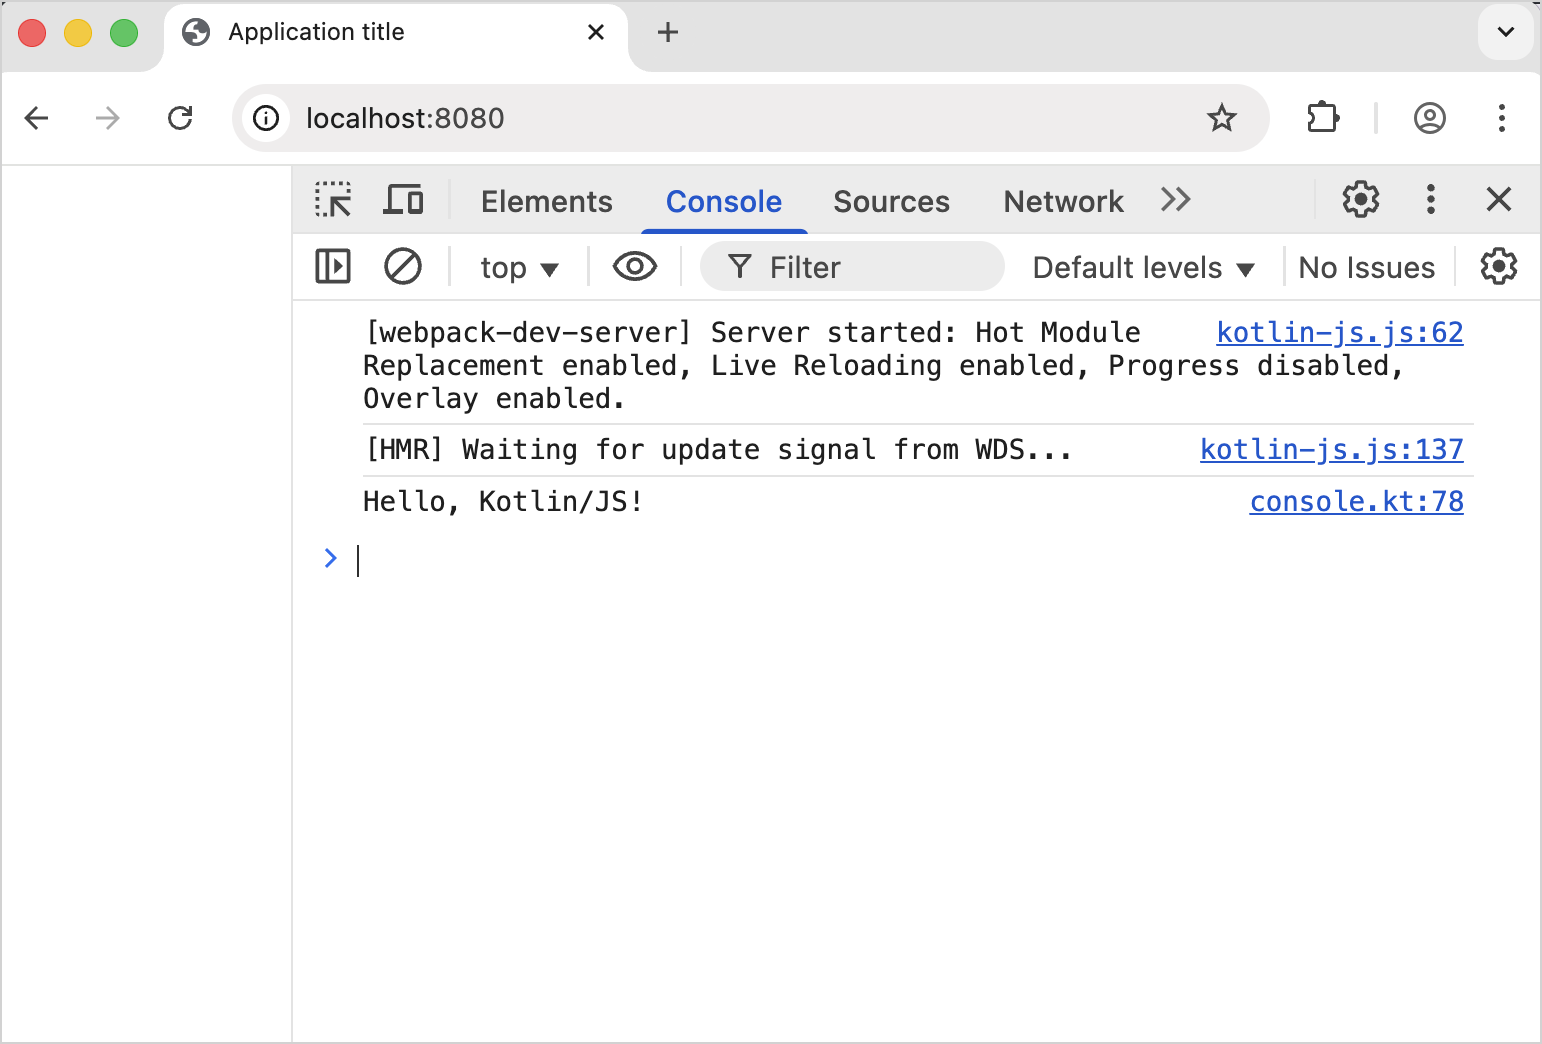
If you are using the nodejs environment, you can see that the terminal prints "Hello, Kotlin/JS!".

Open the project in an IDE
You can open your project in any IDE that supports Gradle.
If you use IntelliJ IDEA:
Select File | Open.
Find the project directory.
Click Open.
IntelliJ IDEA automatically detects if it's a Kotlin/JS project. If you encounter a problem with the project, IntelliJ IDEA displays the error message in the Build pane.
What's next?
Learn how to debug Kotlin/JS applications.
Learn how to write and run tests with Kotlin/JS.
Learn how to write Gradle build scripts for real-life Kotlin/JS projects.
Read more about the Gradle build system.