Configure an iOS delivery pipeline for your Kotlin Multiplatform project
In this tutorial, you'll learn how to set up TeamCity Cloud for a Kotlin Multiplatform project with an iOS target. You'll create a CI pipeline that builds and tests your iOS app on a hosted macOS agent, configure Apple signing credentials, upload a build to TestFlight, and automate the process to start a new build on every push to your GitHub repository.
The Kotlin Multiplatform IDE plugin walks you through the entire setup directly from your IDE — from connecting your project to TeamCity Cloud to publishing your iOS application.
With this workflow, TeamCity Cloud:
Provides hosted macOS agents, so you don't need to provision a Mac yourself.
Generates the required pipeline configuration for you.
Signs your builds and publishes them to TestFlight.
Provides a free starting tier with a monthly allowance of build minutes and storage.
Create the TeamCity pipeline
Start CI setup from the IDE
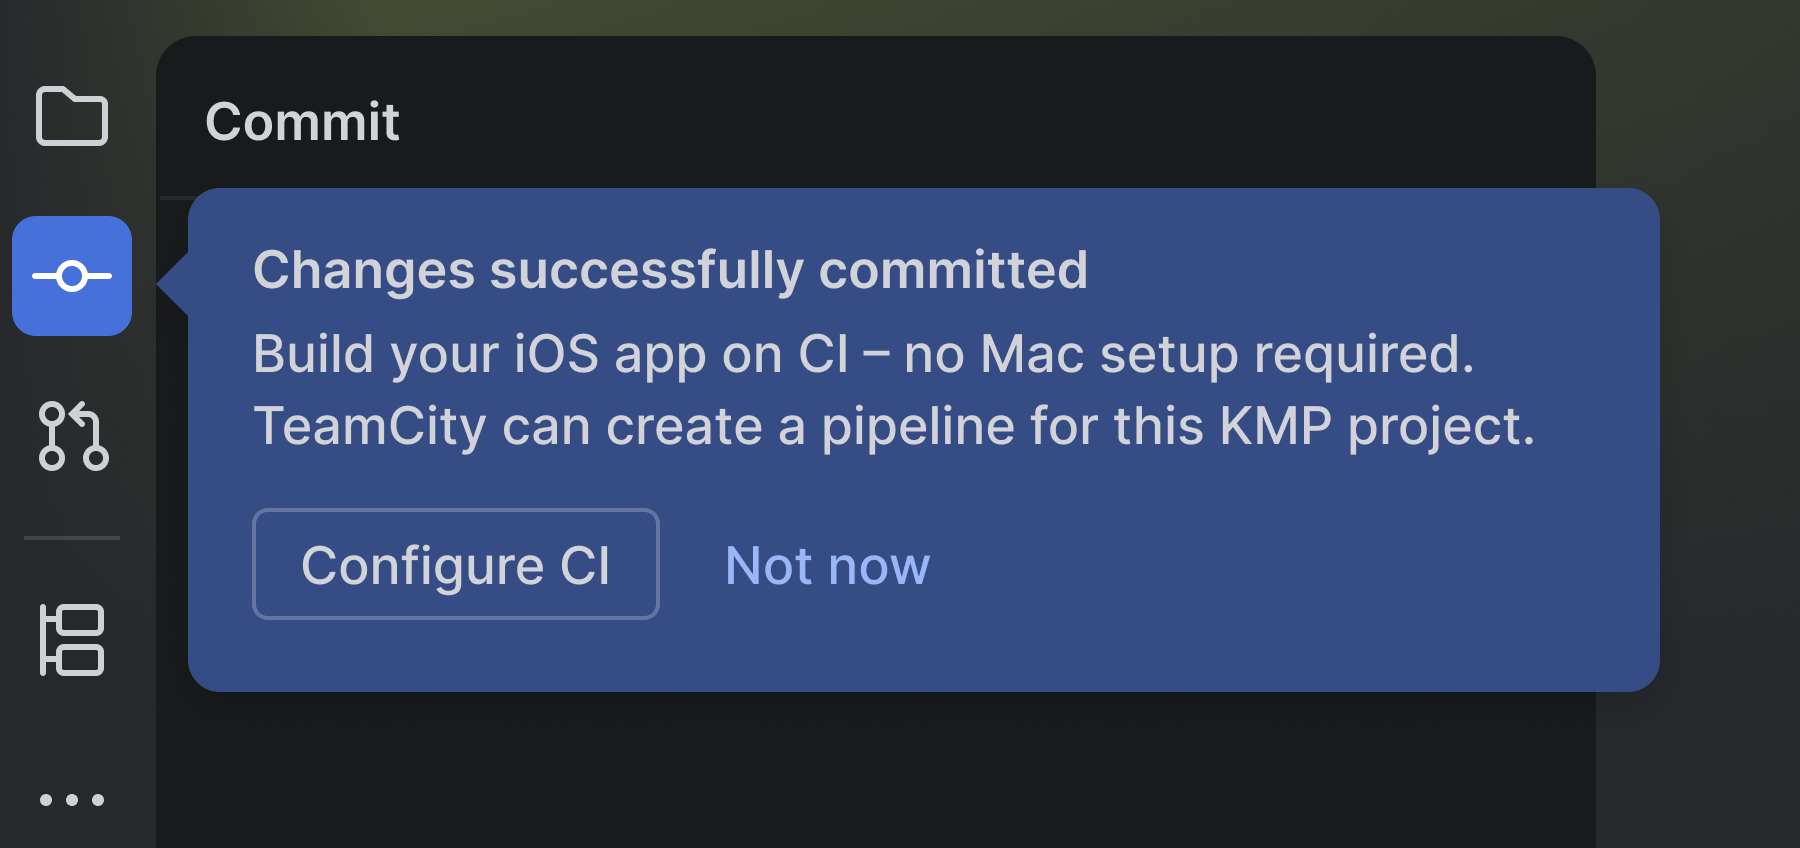
Commit and push your project changes. If CI has not been configured yet, the Kotlin Multiplatform IDE plugin displays a tooltip prompting you to start CI setup.
Click Configure CI. The plugin generates the files required to build and test your iOS app on a hosted macOS agent. These files are added to your local project but are not committed.
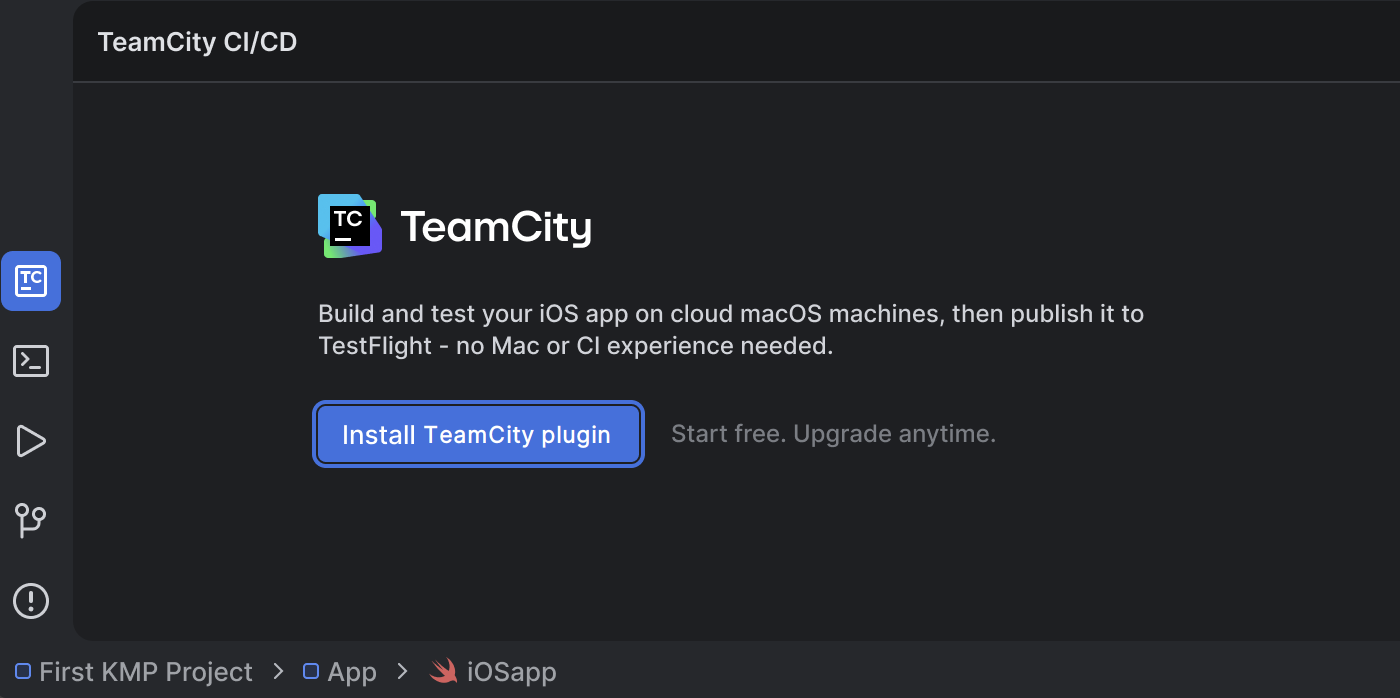
If the TeamCity plugin is not installed, the IDE prompts you to install it. Click Install TeamCity plugin, then return to the setup flow.
When the IDE displays Pipeline is ready, the initial pipeline configuration is complete. Click Continue and, when prompted, allow the IDE to add the generated files to Git. These files remain local until you commit them to your repository.
Create or connect a TeamCity Cloud workspace
TeamCity requires a Cloud workspace to run builds on hosted macOS agents.
Review and accept the TeamCity Cloud Terms of Service.
Click Create free account to create a TeamCity Cloud account.
In the browser, click Authorize JetBrains to authorize the integration.
TeamCity creates or connects to the workspace and prepares the build environment. This usually takes less than 30 seconds.
Build the iOS app
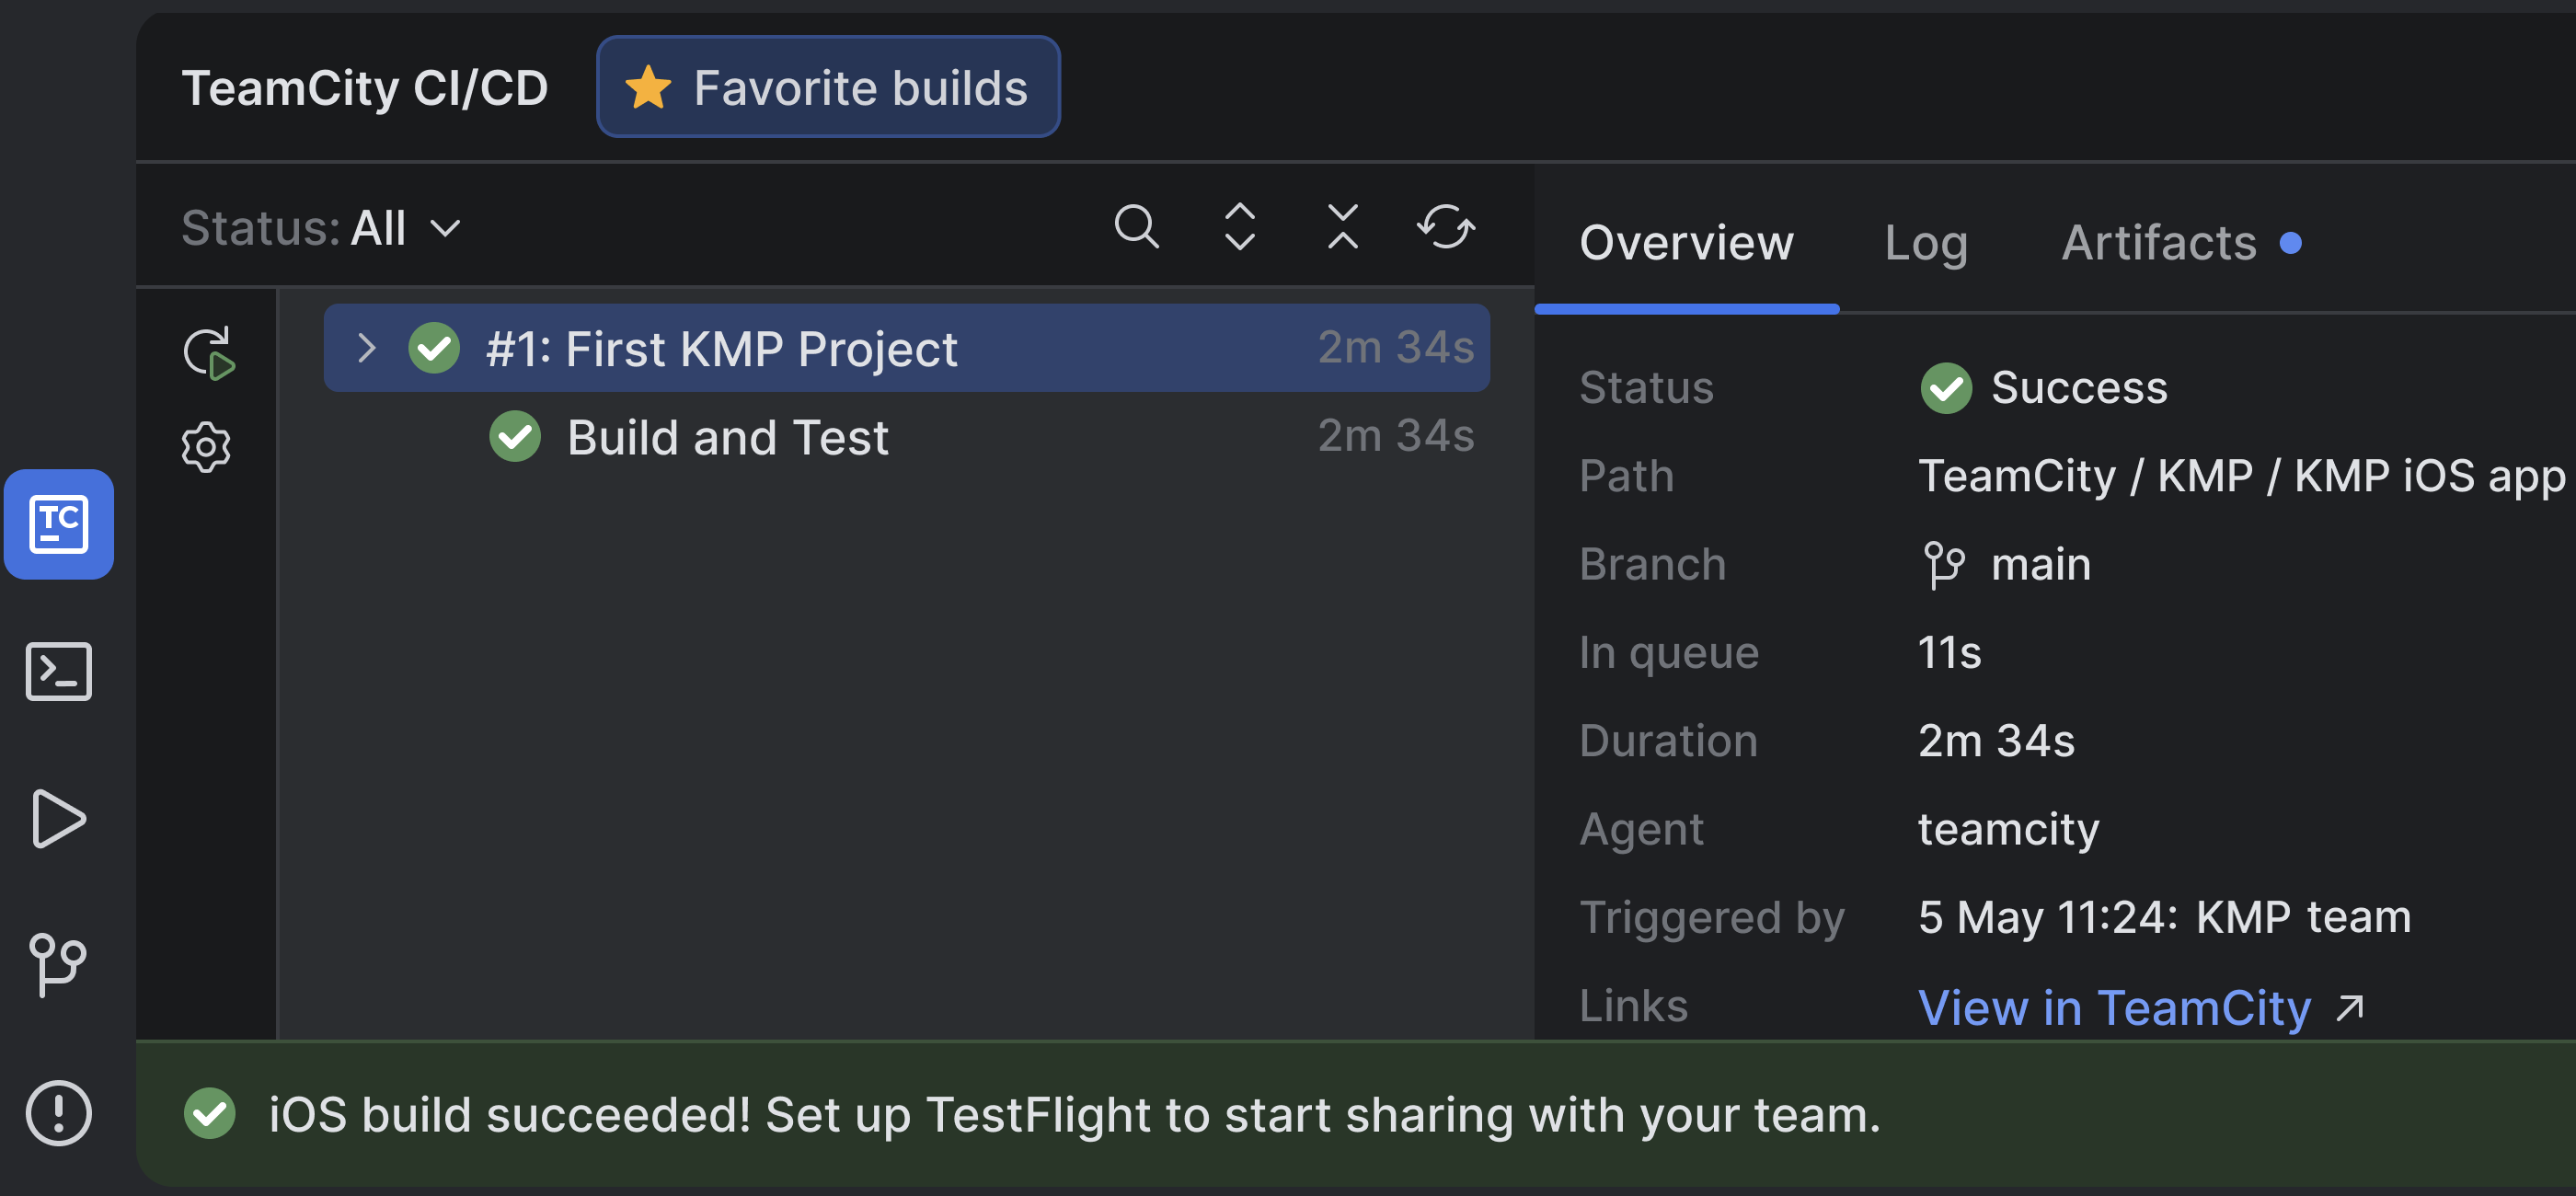
When the workspace is ready, the IDE automatically opens the TeamCity tab and starts your first build.
For this first run, TeamCity uses your local, uncommitted project files. It builds the iOS application and runs the configured tests on a hosted macOS agent. This lets you verify that the pipeline works as expected before you commit any generated files to your repository.
When the automated build succeeds, click Publish to TestFlight to configure signing and deployment.
Configure Apple signing and TestFlight
To upload builds to TestFlight, TeamCity needs credentials for App Store Connect and Apple code signing.
Create an API key with the permissions required to upload the app.
Download the private key (.p8 file).
Note the Issuer ID and Key ID displayed for the key.
You can download the .p8 file only once, so store it securely.
Export an Apple Distribution certificate
In Xcode, Go to Settings | Accounts, or open the Apple Developer Portal, and then create or locate your Apple Distribution certificate.
On a Mac, open Keychain Access and find the certificate under My Certificates.
Right-click the certificate and choose Export to save it as a .p12 file.
Set an export password and store it securely; you'll need it later.
Add Apple credentials in the IDE
Return to the IDE and complete the Add Apple signing credentials form. TeamCity stores these values as secure deployment credentials; they are not added to your project source files.
Issuer ID
Identifies your App Store Connect API integration.
Key ID
Identifies the API key that you created.
Private Key
The .p8 file downloaded from App Store Connect.
Team ID
Your Apple Developer team identifier.
Bundle ID
Your app's unique identifier (for example, com.company.app), as configured in your app target and listed in App Store Connect.
Certificate
The .p12 distribution certificate that includes the private key.
.p12 password
The password that you specified when exporting the certificate.
Upload the first build to TestFlight
After you add the credentials, the pipeline includes signing and deployment steps.
Click Deploy to TestFlight. TeamCity reruns the pipeline, creates a signed iOS build, and uploads it to App Store Connect.
Open App Store Connect or TestFlight and verify that the build appears.
Automate builds and publishing
Connect the repository
To automate this process, connect your GitHub repository to TeamCity so that every push triggers a new build.
After the first deployment pipeline finishes successfully, click Connect repository in the IDE. TeamCity opens in the browser and confirms that the repository is authorized. It detects your repository and branch automatically and attaches them to the pipeline.
Return to the IDE, then commit and push the generated pipeline configuration files.
TeamCity now triggers the pipeline whenever you push changes to the configured branch.
Verify the pipeline
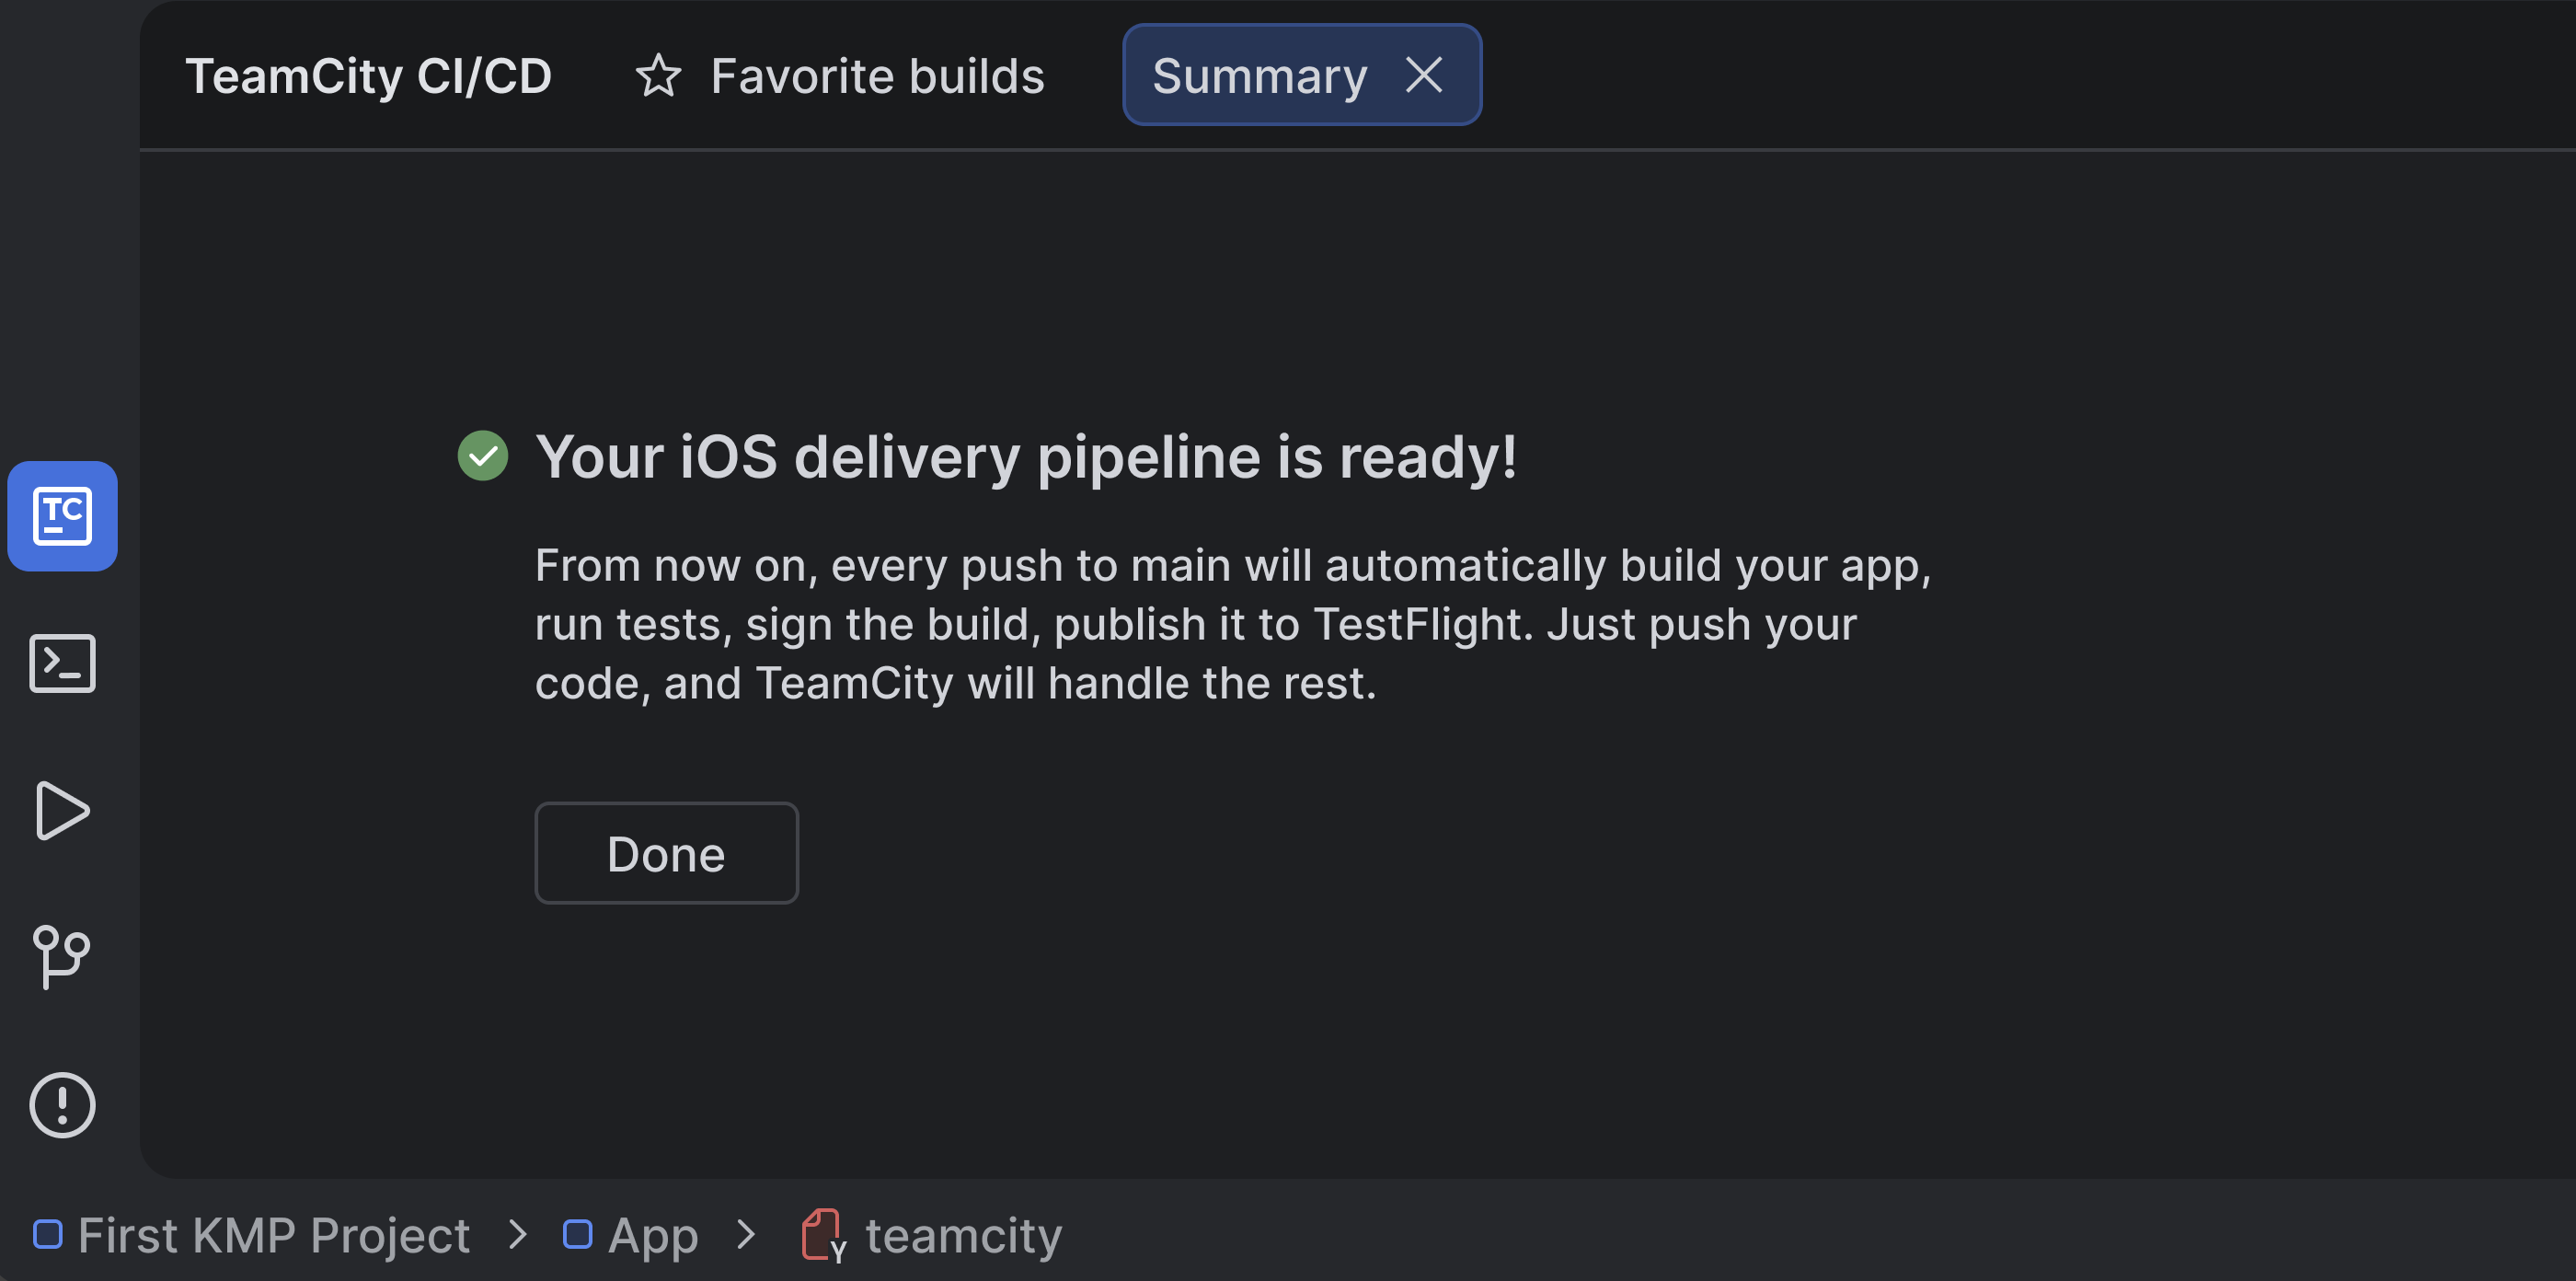
Your iOS delivery pipeline is now ready! Every push to the configured branch triggers TeamCity to:
Start a build on a hosted macOS agent.
Build the Kotlin Multiplatform project.
Run the configured tests.
Sign the iOS application.
Upload a new build to TestFlight.
Click Done to close the setup flow.
From now on, push your code and TeamCity handles the rest.
What's next
Read more about TeamCity Cloud pipelines to customize your setup further: create more projects, set up build agent requirements, and more.