Compose Multiplatform is interoperable with the SwiftUI framework. You can embed Compose Multiplatform within a SwiftUI application as well as embed native SwiftUI components within the Compose Multiplatform UI. This page provides examples both for using Compose Multiplatform inside SwiftUI and for embedding SwiftUI inside a Compose Multiplatform app.
Use Compose Multiplatform inside a SwiftUI application
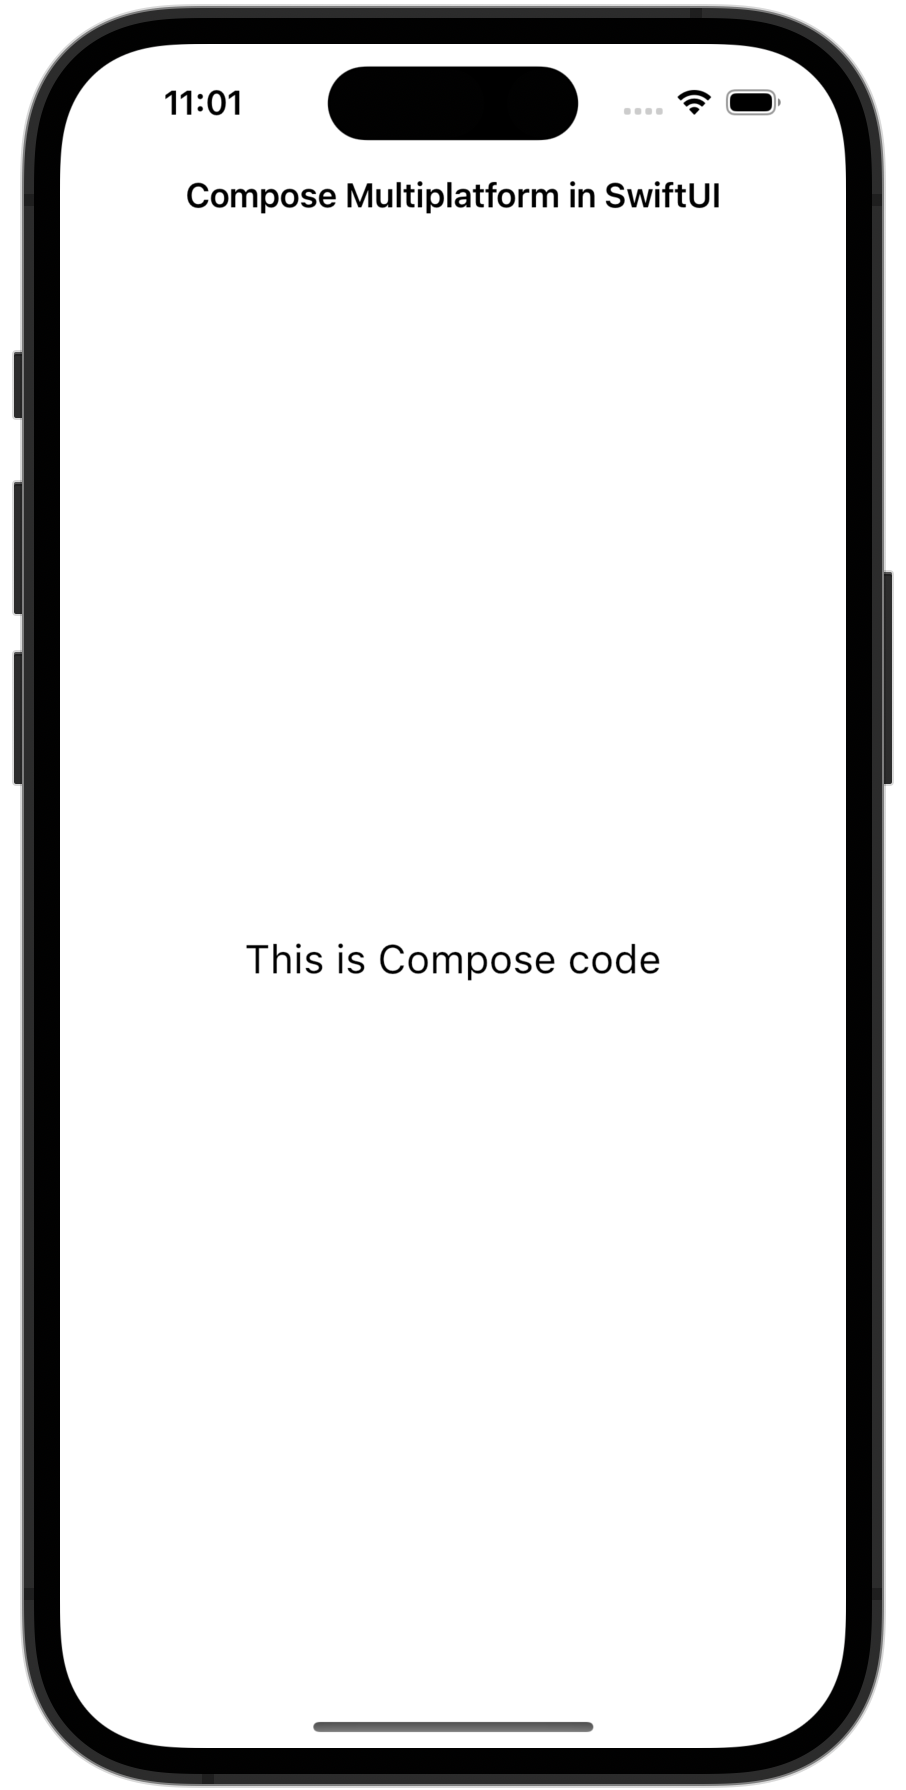
To use Compose Multiplatform inside a SwiftUI application, create a Kotlin function MainViewController() that returns UIViewController from UIKit and contains Compose Multiplatform code:
fun MainViewController(): UIViewController =
ComposeUIViewController {
Box(Modifier.fillMaxSize(), contentAlignment = Alignment.Center) {
Text("This is Compose code", fontSize = 20.sp)
}
}
ComposeUIViewController() is a Compose Multiplatform library function that accepts a composable function as the content argument. The function passed in this way can call other composable functions, for example, Text().
Next, you need a structure that represents Compose Multiplatform in SwiftUI. Create the following structure that converts a UIViewController instance to a SwiftUI view:
Now you can use the ComposeViewController structure in other SwiftUI code.
Main_iosKt.MainViewController is a generated name. You can learn more about accessing Kotlin code from Swift on the Interoperability with Swift/Objective-C page.
In the end, your application should look like this:
A Compose view can measure its content using a sizing proposal from SwiftUI and report its preferred size. If that size changes, the hosting UIView invalidates its intrinsic content size so SwiftUI can run layout again and apply the updated size.
For the UIViewRepresentable examples, define a Kotlin function MainComposeView() in main.ios.kt:
fun MainComposeView(): UIView = ComposeUIView {
Text(
"This Compose view wraps text to fit the available width",
modifier = Modifier.fillMaxWidth().padding(16.dp)
)
}
On iOS 16 and later
In your Swift code, pass SwiftUI's sizing proposal to the Compose view's sizeThatFits() method. Use UIView.noIntrinsicMetric for dimensions that SwiftUI leaves unspecified.
Use Compose content that wraps the dimension you want to fit, such as the Text in this section. If you adapt the example from Use Compose Multiplatform inside a SwiftUI application, replace its Box(Modifier.fillMaxSize()) with this content.
This UIViewRepresentable example uses a fixed width and content-based height. For a fixed height, use .frame(height: 100) and remove Modifier.fillMaxWidth().
struct ComposeView: UIViewRepresentable {
let makeComposeUIView: () -> UIView
func makeUIView(context: Context) -> UIView {
makeComposeUIView()
}
func updateUIView(_ uiView: UIView, context: Context) {}
@available(iOS 16.0, *)
func sizeThatFits(
_ proposal: ProposedViewSize,
uiView: UIView,
context: Context
) -> CGSize? {
uiView.sizeThatFits(
CGSize(
// noIntrinsicMetric marks a dimension as unspecified by SwiftUI
width: proposal.width ?? UIView.noIntrinsicMetric,
height: proposal.height ?? UIView.noIntrinsicMetric
)
)
}
}
struct ContentView: View {
var body: some View {
// Uses the bridge name generated for your Kotlin file
// for example, main.ios.kt -> Main_iosKt
ComposeView(makeComposeUIView: { Main_iosKt.MainComposeView() })
.frame(width: 240)
}
}
Size content hosted in a view controller
The MainViewController() Kotlin function from Use Compose Multiplatform inside a SwiftUI application returns a UIViewController instead of a UIView. To size its content on iOS 16 and later, first update MainViewController() in main.ios.kt to use content that wraps its height:
fun MainViewController(): UIViewController = ComposeUIViewController {
Text(
"This Compose view wraps text to fit the available width",
modifier = Modifier.fillMaxWidth().padding(16.dp)
)
}
In your Swift code, update the ComposeViewController wrapper from the example that uses UIViewControllerRepresentable to embed the controller in SwiftUI. Add sizeThatFits(_:uiViewController:context:) to this wrapper and forward SwiftUI's sizing proposal to the controller's Compose view:
struct ComposeViewController: UIViewControllerRepresentable {
func makeUIViewController(context: Context) -> UIViewController {
// Uses the bridge name generated for your Kotlin file
// for example, main.ios.kt -> Main_iosKt
Main_iosKt.MainViewController()
}
func updateUIViewController(_ uiViewController: UIViewController, context: Context) {}
@available(iOS 16.0, *)
func sizeThatFits(
_ proposal: ProposedViewSize,
uiViewController: UIViewController,
context: Context
) -> CGSize? {
uiViewController.view.sizeThatFits(
CGSize(
// noIntrinsicMetric marks a dimension as unspecified by SwiftUI
width: proposal.width ?? UIView.noIntrinsicMetric,
height: proposal.height ?? UIView.noIntrinsicMetric
)
)
}
}
struct ContentView: View {
var body: some View {
ComposeViewController()
.frame(width: 240)
}
}
The fixed width constrains the text, and SwiftUI uses the reported height to fit the content.
Before iOS 16
If your SwiftUI app has to run on an iOS version earlier than 16, report intrinsic content size of MainComposeView() in main.ios.kt:
fun MainComposeView(): UIView = ComposeUIView(
configure = {
preferredSizeReportingStrategy = PreferredSizeReportingStrategy.IntrinsicContentSize
}
) {
Text(
"This Compose view wraps text to fit the available width",
modifier = Modifier.fillMaxWidth().padding(16.dp)
)
}
This example uses a fixed width and lets the Compose content determine the height. In your Swift code, pass the width to sizeThatFits() in updateUIView() and use the same width for the SwiftUI frame. SwiftUI reads the resulting size through intrinsicContentSize:
struct IntrinsicComposeView: UIViewRepresentable {
let makeComposeUIView: () -> UIView
let width: CGFloat
func makeUIView(context: Context) -> UIView {
makeComposeUIView()
}
func updateUIView(_ uiView: UIView, context: Context) {
_ = uiView.sizeThatFits(
// noIntrinsicMetric marks a dimension as unspecified by SwiftUI
CGSize(width: width, height: UIView.noIntrinsicMetric)
)
}
}
struct ContentView: View {
private let width: CGFloat = 240
var body: some View {
// Uses the bridge name generated for your Kotlin file
// for example, main.ios.kt -> Main_iosKt
IntrinsicComposeView(
makeComposeUIView: { Main_iosKt.MainComposeView() },
width: width
)
.frame(width: width)
}
}
For a fixed height, swap width and height in the sizing proposal and SwiftUI frame.
Use SwiftUI inside Compose Multiplatform
To use SwiftUI inside Compose Multiplatform, add your Swift code to an intermediate UIViewController. Currently, you can't write SwiftUI structures directly in Kotlin. Instead, you have to write them in Swift and pass them to a Kotlin function.
To start, add an argument to your entry point function to create a ComposeUIViewController component:
In your Swift code, pass the createUIViewController to your entry point function. You can use a UIHostingController instance to wrap SwiftUI views:
Main_iosKt.ComposeEntryPointWithUIViewController(createUIViewController: { () -> UIViewController in
let swiftUIView = VStack {
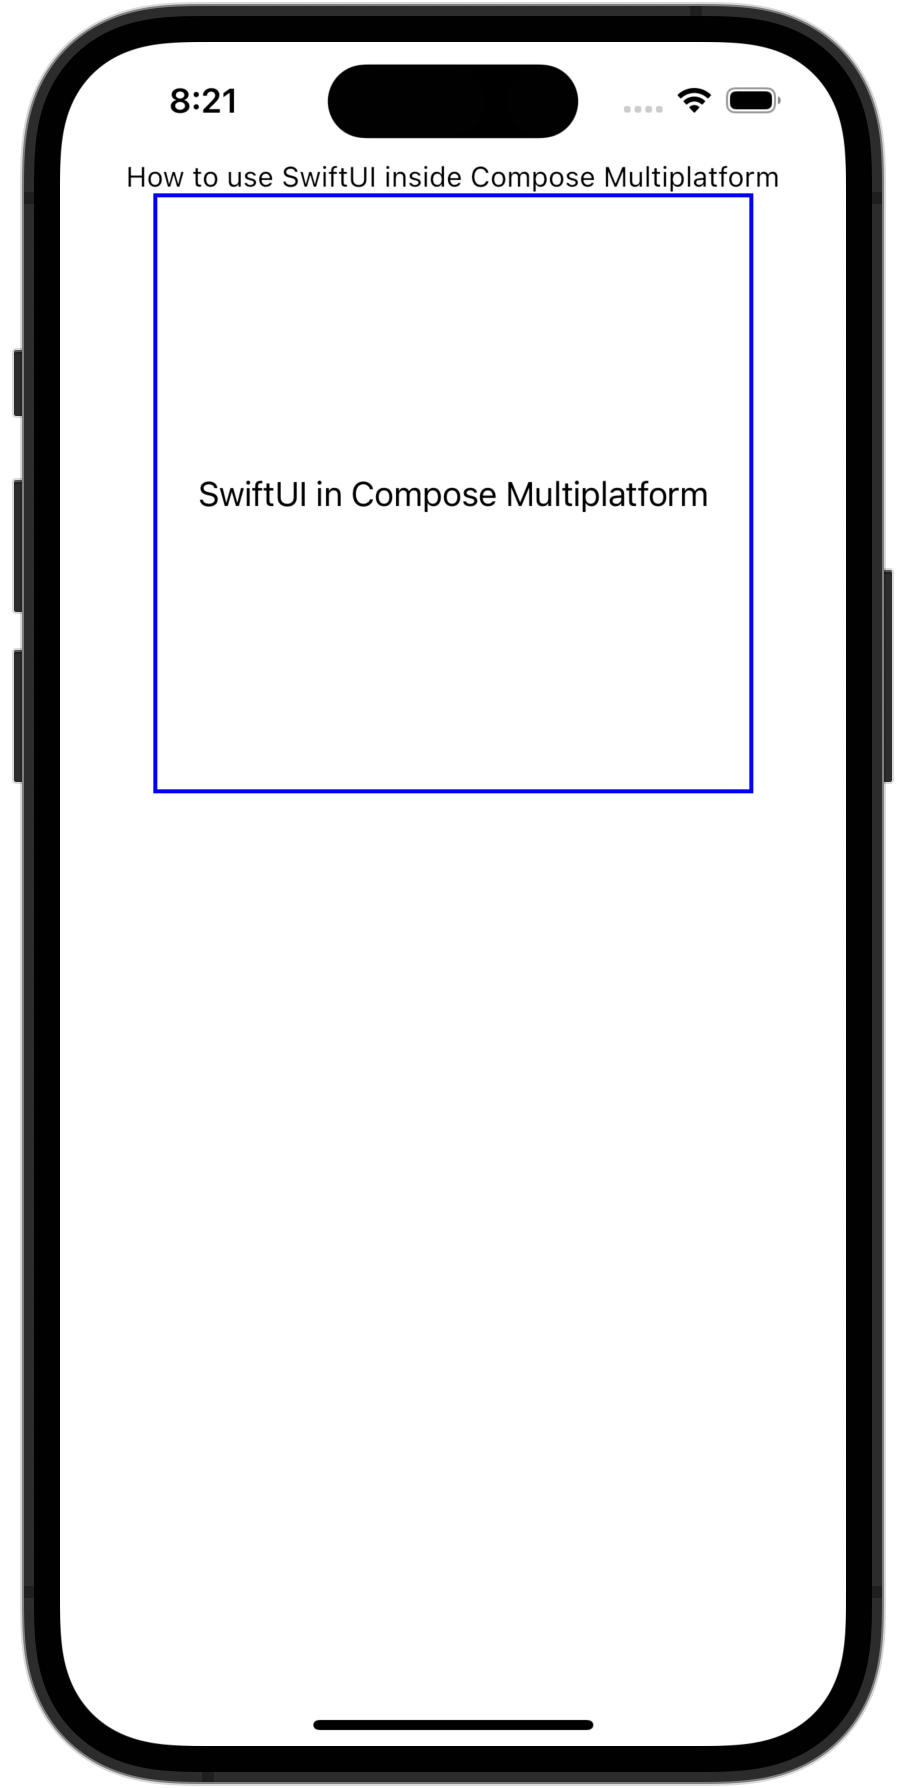
Text("SwiftUI in Compose Multiplatform")
}
return UIHostingController(rootView: swiftUIView)
})
In the end, your application should look like this:
Explore the code for this example in the sample project.
Map view
You can implement a map view in Compose Multiplatform using SwiftUI's Map component. This allows your application to display fully interactive SwiftUI maps.
For the same Kotlin entry point function, in Swift, pass the UIViewController that wraps the Map view using a UIHostingController:
The AnnotatedMapView performs the following tasks:
Defines a SwiftUI Map view and embeds it inside a custom view called AnnotatedMapView.
Manages internal state for map positioning using @State and MKCoordinateRegion, allowing Compose Multiplatform to display an interactive, state-aware map.
Displays a MapMarker on the map using a static Landmark model that conforms to Identifiable, which is required for annotations in SwiftUI.
Uses annotationItems to declaratively place custom markers on the map.
Wraps the SwiftUI component inside a UIHostingController, which is then passed to Compose Multiplatform as a UIViewController.
Camera view
You can implement a camera view in Compose Multiplatform using SwiftUI and UIKit's UIImagePickerController, wrapped in a SwiftUI-compatible component. This allows your application to launch the system camera and capture photos.
For the same Kotlin entry point function, in Swift, define a basic CameraView using UIImagePickerController and embed it using UIHostingController:
Main_iosKt.ComposeEntryPointWithUIViewController(createUIViewController: {
return UIHostingController(rootView: CameraView { image in
// Handle captured image here
})
})
Now, let's look at an advanced example. This code presents a camera view and displays a thumbnail of the captured image in the same SwiftUI view:
import SwiftUI
import UIKit
struct CameraPreview: View {
// Controls the camera sheet visibility
@State private var showCamera = false
// Stores the captured image
@State private var capturedImage: UIImage?
var body: some View {
VStack {
if let image = capturedImage {
// Displays the captured image
Image(uiImage: image)
.resizable()
.scaledToFit()
.frame(height: 200)
} else {
// Shows placeholder text when no image is captured
Text("No image captured")
}
// Adds a button to open the camera
Button("Open Camera") {
showCamera = true
}
// Presents CameraView as a modal sheet
.sheet(isPresented: $showCamera) {
CameraView { image in
capturedImage = image
}
}
}
}
}
The CameraPreview view performs the following tasks:
Presents a CameraView in a modal .sheet when the user taps a button.
Uses the @State property wrapper to store and display the captured image.
Embeds SwiftUI's native Image view to preview the photo.
Reuses the same UIViewControllerRepresentable-based CameraView as before, but integrates it more deeply into the SwiftUI state system.
Web view
You can implement a web view in Compose Multiplatform using SwiftUI by wrapping UIKit's WKWebView component with UIViewRepresentable. This allows you to display embedded web content with full native rendering.
For the same Kotlin entry point function, in Swift, define a basic WebView embedded using UIHostingController: