Compose Multiplatform for desktop provides various features for managing windows. You can hide windows in the tray, make them draggable, adapt their size, change position, and so on.
You can use the Window() function to create a regular window. To put it in a composable scope, use Window() in the application entry point:
import androidx.compose.ui.window.Window
import androidx.compose.ui.window.application
fun main() = application {
Window(onCloseRequest = ::exitApplication) {
// Content of the window
}
}
As a composable function, Window() allows you to change its properties declaratively. For example, you can open a window with one title and change the title later:
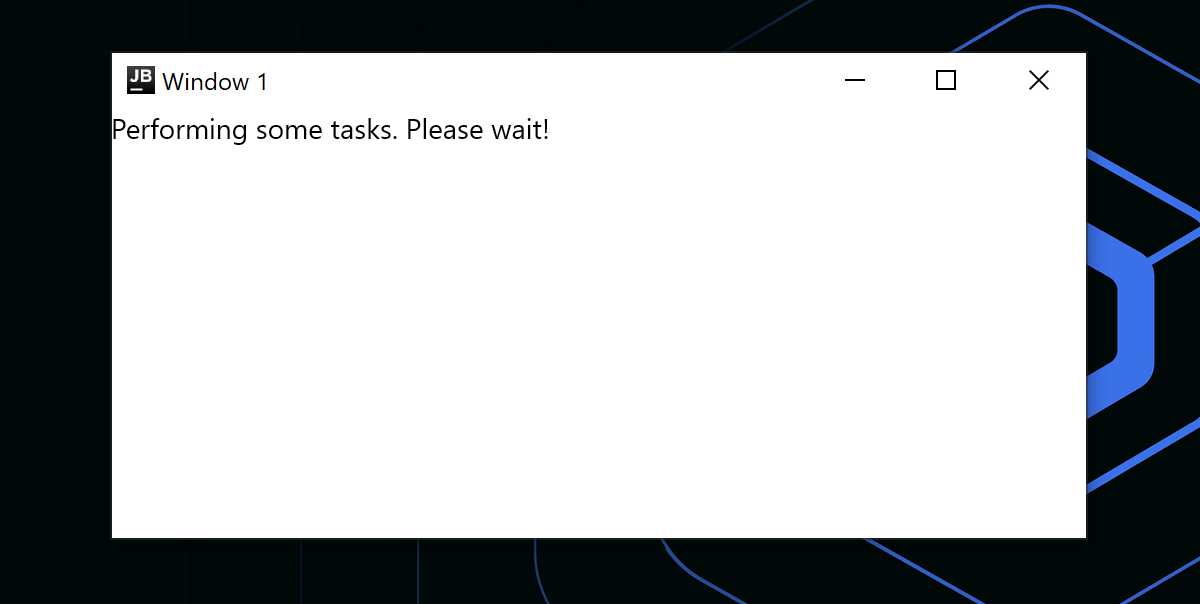
You can also open and close windows using simple if conditions. In the following code sample, the application window is automatically closed after completing a task:
import androidx.compose.material.Text
import androidx.compose.runtime.LaunchedEffect
import androidx.compose.runtime.getValue
import androidx.compose.runtime.mutableStateOf
import androidx.compose.runtime.remember
import androidx.compose.runtime.setValue
import androidx.compose.ui.window.Window
import androidx.compose.ui.window.application
import kotlinx.coroutines.delay
fun main() = application {
var isPerformingTask by remember { mutableStateOf(true) }
LaunchedEffect(Unit) {
// Do some heavy lifting
delay(2000)
isPerformingTask = false
}
if (isPerformingTask) {
Window(
onCloseRequest = ::exitApplication,
title = "Window 1"
)
{
Text("Performing some tasks. Please wait!")
}
} else {
Window(
onCloseRequest = ::exitApplication,
title = "Window 2"
) {
Text("Hello, World!")
}
}
}
Ask for confirmation on close
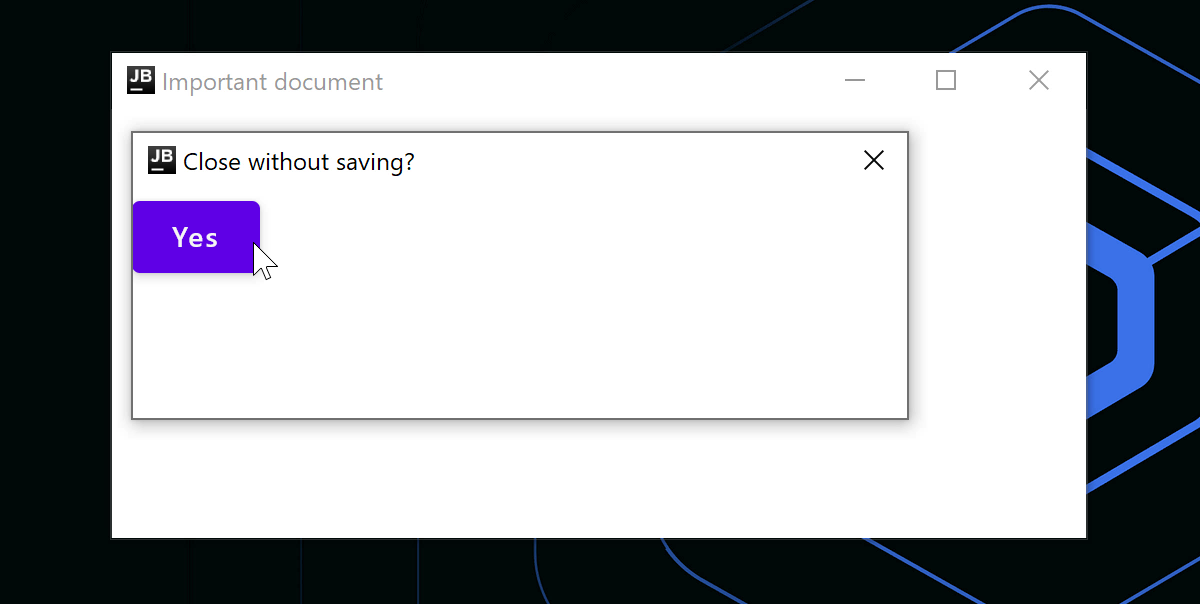
If you want to use custom logic on application exit, such as showing a dialog, you can override the close action using the onCloseRequest callback. In the following code sample, instead of an imperative approach (window.close()), we use a declarative approach and close the window in response to the state change (isOpen = false).
import androidx.compose.material.Button
import androidx.compose.material.Text
import androidx.compose.runtime.getValue
import androidx.compose.runtime.mutableStateOf
import androidx.compose.runtime.remember
import androidx.compose.runtime.setValue
import androidx.compose.ui.window.DialogWindow
import androidx.compose.ui.window.Window
import androidx.compose.ui.window.application
fun main() = application {
var isOpen by remember { mutableStateOf(true) }
var isAskingToClose by remember { mutableStateOf(false) }
if (isOpen) {
Window(
onCloseRequest = { isAskingToClose = true },
title = "Important document"
) {
if (isAskingToClose) {
DialogWindow(
onCloseRequest = { isAskingToClose = false },
title = "Close without saving?"
) {
Button(
onClick = { isOpen = false }
) {
Text("Yes")
}
}
}
}
}
}
Create a single-window application
For a simple application with one top-level window, you don't need the full application entry point with a Window() composable – the singleWindowApplication() function wraps both into a single call:
import androidx.compose.ui.window.singleWindowApplication
fun main() = singleWindowApplication {
// Content of the window
}
For more than one top-level window, custom closing logic, or changing window attributes at runtime, use the Window() composable in the application entry point.
Manage window state
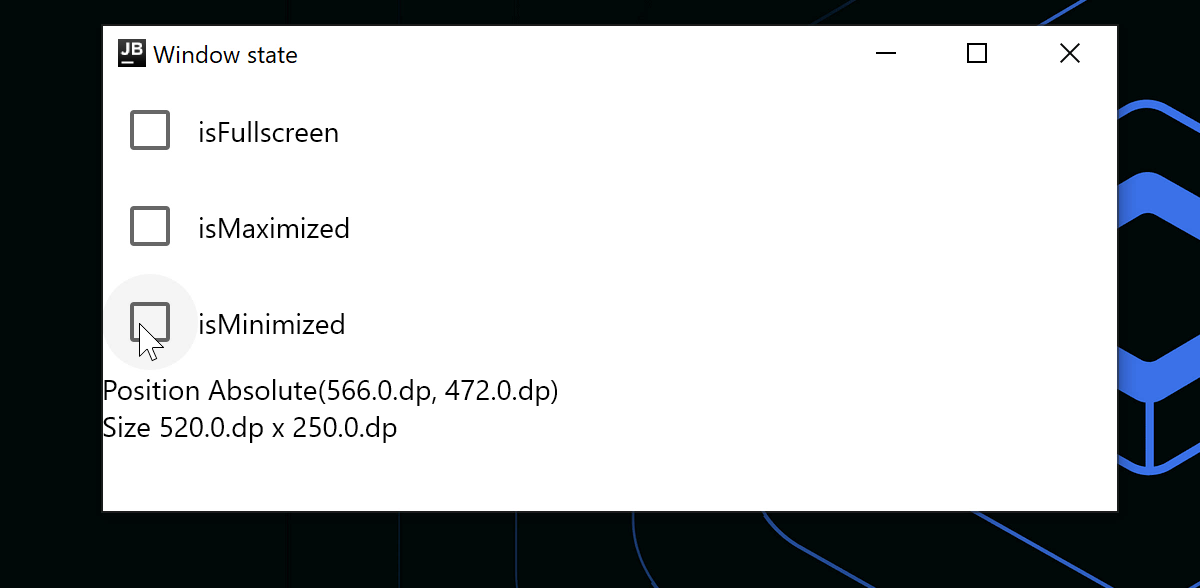
The WindowState class holds window placement, current position, and size. The placement attribute allows you to specify how the window is placed on the screen: floating, maximized/minimized, or fullscreen. Any change of the state triggers automatic recomposition. To change the window state, use callbacks or observe it in composables:
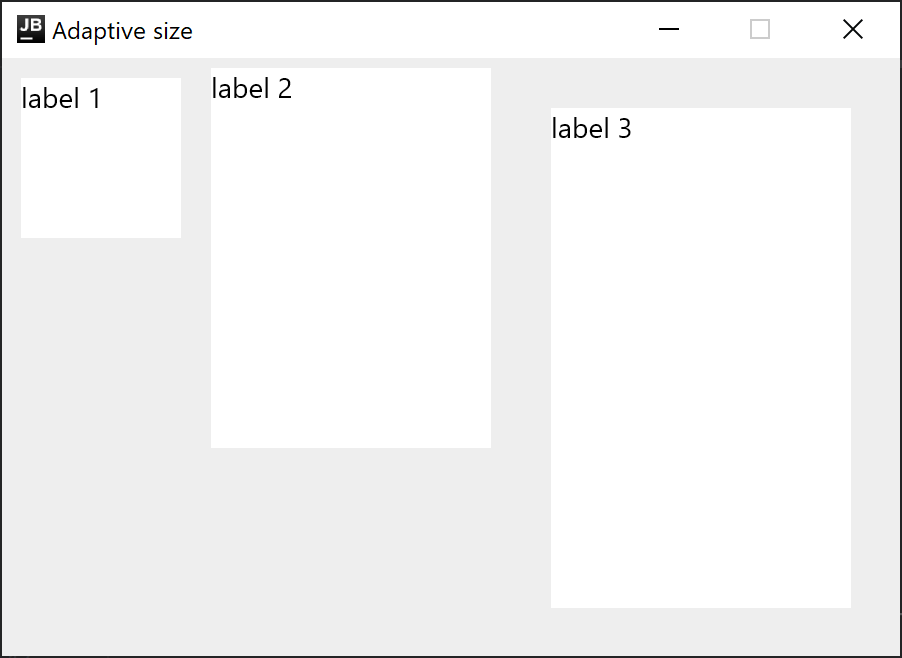
To size a window based on its content without providing dimensions in advance, set one or both dimensions of the window to Dp.Unspecified. Compose Multiplatform automatically adjusts the initial window size to fit your content:
To react to state changes and send a value to a non-composable part of your application (for example, to write it to a database), you can use the snapshotFlow() function. This function captures the current value of a composable's state.
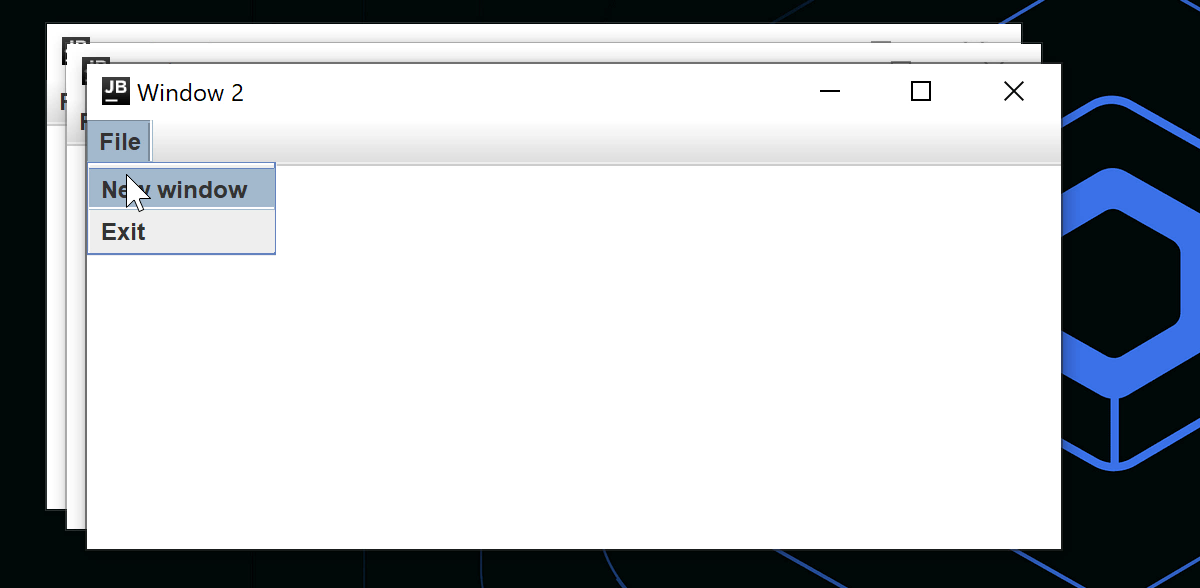
To manage multiple windows, you can create a separate class for the application state and open or close windows in response to the mutableStateListOf changes:
import androidx.compose.runtime.Composable
import androidx.compose.runtime.key
import androidx.compose.runtime.mutableStateListOf
import androidx.compose.runtime.remember
import androidx.compose.ui.window.MenuBar
import androidx.compose.ui.window.Window
import androidx.compose.ui.window.application
fun main() = application {
val applicationState = remember { MyApplicationState() }
for (window in applicationState.windows) {
key(window) {
MyWindow(window)
}
}
}
@Composable
private fun MyWindow(
state: MyWindowState
) = Window(onCloseRequest = state::close, title = state.title) {
MenuBar {
Menu("File") {
Item("New window", onClick = state.openNewWindow)
Item("Exit", onClick = state.exit)
}
}
}
private class MyApplicationState {
val windows = mutableStateListOf<MyWindowState>()
init {
windows += MyWindowState("Initial window")
}
fun openNewWindow() {
windows += MyWindowState("Window ${windows.size}")
}
fun exit() {
windows.clear()
}
private fun MyWindowState(
title: String
) = MyWindowState(
title,
openNewWindow = ::openNewWindow,
exit = ::exit,
windows::remove
)
}
private class MyWindowState(
val title: String,
val openNewWindow: () -> Unit,
val exit: () -> Unit,
private val close: (MyWindowState) -> Unit
) {
fun close() = close(this)
}
For a more complex example, see the Code Viewer sample.
Show dialogs
You can use the DialogWindow() composable to display a separate OS-level window with its own title bar. This is useful for confirmations, file pickers, or any interaction the user must complete before continuing.
You can use the experimental modalityType parameter to control whether the dialog blocks interaction with other windows. Set it to one of the DialogModalityType values:
Modeless does not block any other windows.
DocumentModal blocks the parent top-level window and any other windows attached to it, except for the dialog's own descendants.
ApplicationModal blocks all other windows in the same application.
The following code sample combines a regular window with an ApplicationModal dialog:
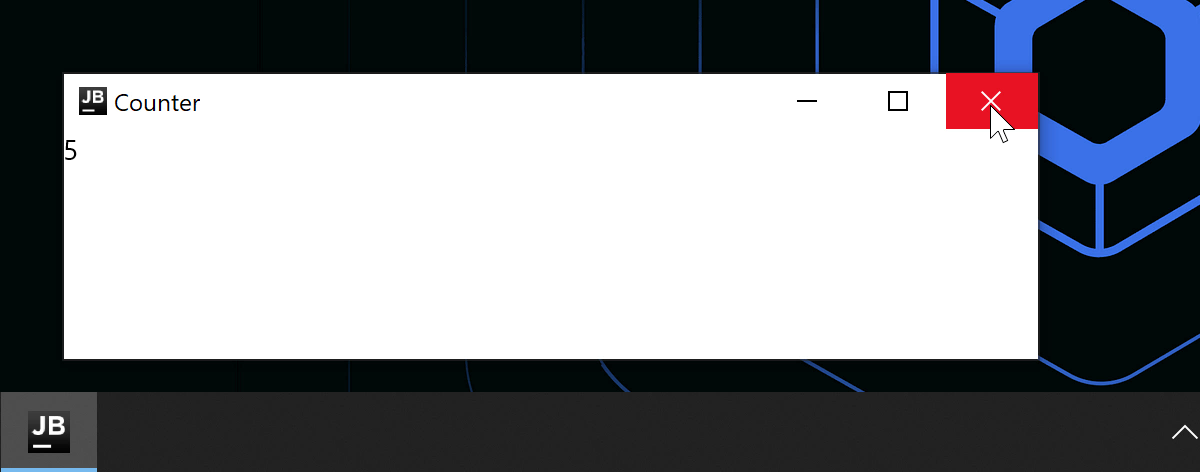
By default, closing the window exits the application. To hide the window to the system tray or menu bar instead, you can intercept onCloseRequest to change the window's visibility state.
In the following example, closing the window sets isVisible to false, which hides the window and displays a system tray icon. Clicking the tray icon restores the window.
import androidx.compose.material.Text
import androidx.compose.runtime.LaunchedEffect
import androidx.compose.runtime.getValue
import androidx.compose.runtime.mutableStateOf
import androidx.compose.runtime.remember
import androidx.compose.runtime.setValue
import androidx.compose.ui.geometry.Size
import androidx.compose.ui.graphics.Color
import androidx.compose.ui.graphics.drawscope.DrawScope
import androidx.compose.ui.graphics.painter.Painter
import androidx.compose.ui.window.Tray
import androidx.compose.ui.window.Window
import androidx.compose.ui.window.application
import kotlinx.coroutines.delay
fun main() = application {
var isVisible by remember { mutableStateOf(true) }
Window(
// Hides the window instead of closing the app
onCloseRequest = { isVisible = false },
visible = isVisible,
title = "Counter",
) {
var counter by remember { mutableStateOf(0) }
LaunchedEffect(Unit) {
while (true) {
counter++
delay(1000)
}
}
Text(counter.toString())
}
if (!isVisible) {
Tray(
TrayIcon,
tooltip = "Counter",
onAction = { isVisible = true },
menu = {
Item("Exit", onClick = ::exitApplication)
},
)
}
}
object TrayIcon : Painter() {
override val intrinsicSize = Size(256f, 256f)
override fun DrawScope.onDraw() {
drawOval(Color(0xFFFFA500))
}
}
Make window areas draggable
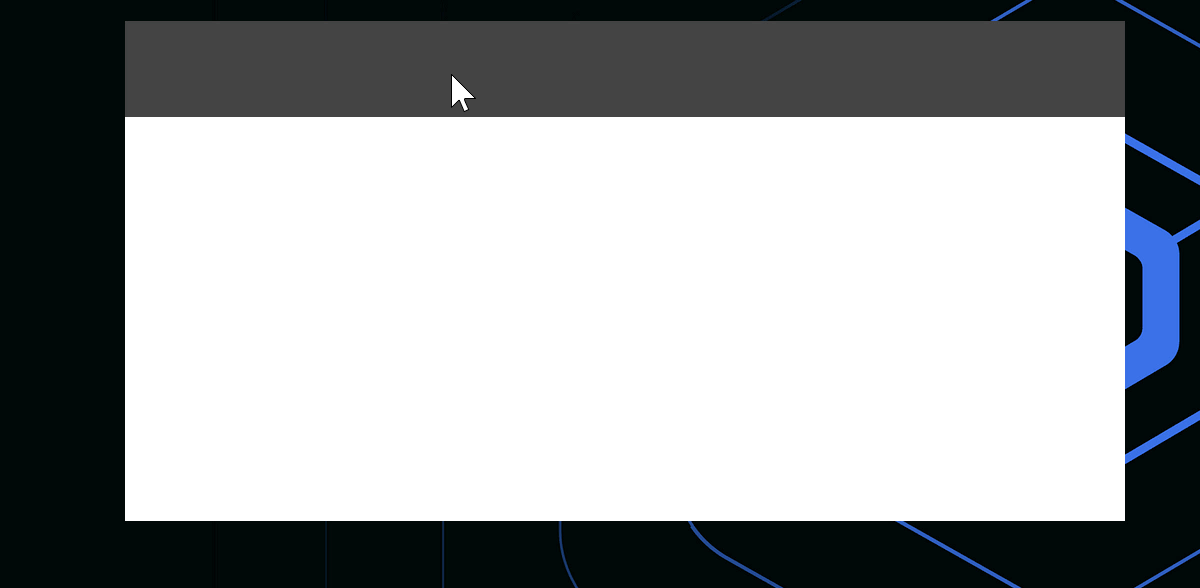
To add a custom draggable title bar to the undecorated window or make the whole window draggable, you can use the WindowDraggableArea() composable:
WindowDraggableArea() can be used inside the singleWindowApplication(), Window(), and DialogWindow() composables only. To call it in another composable function, use a WindowScope as a receiver scope:
To create a transparent window, pass two parameters to the Window() function: transparent=true and undecorated=true. The window must be undecorated because it is impossible to decorate a transparent window.
The following code sample demonstrates how to combine composables to create a transparent window with rounded corners:
import androidx.compose.foundation.layout.fillMaxSize
import androidx.compose.foundation.layout.padding
import androidx.compose.foundation.shape.RoundedCornerShape
import androidx.compose.material.Surface
import androidx.compose.runtime.mutableStateOf
import androidx.compose.runtime.remember
import androidx.compose.ui.Modifier
import androidx.compose.ui.draw.shadow
import androidx.compose.ui.graphics.Color
import androidx.compose.ui.unit.dp
import androidx.compose.ui.window.Window
import androidx.compose.ui.window.application
import androidx.compose.material.Text
import androidx.compose.runtime.*
fun main() = application {
var isOpen by remember { mutableStateOf(true) }
if (isOpen) {
Window(
onCloseRequest = { isOpen = false },
title = "Transparent Window Example",
transparent = true,
// Transparent window must be undecorated
undecorated = true,
) {
Surface(
modifier = Modifier.fillMaxSize().padding(5.dp).shadow(3.dp, RoundedCornerShape(20.dp)),
color = Color.Transparent,
// Window with rounded corners
shape = RoundedCornerShape(20.dp)
) {
Text("Hello World!", color = Color.White)
}
}
}
}
Use Swing components
Compose Multiplatform for desktop uses Swing under the hood, so you can create a window using Swing directly:
Starting with Compose Multiplatform 1.12.0, the redesigned WindowState and DialogState classes are available in the androidx.compose.ui.window.v2 subpackage.
The v2 window and dialog API separates requesting a state from observing the state actually applied by the window manager. It also unlocks scenarios that weren't possible before, such as sizing a window to its content's preferred size while still letting the content expand (via modifiers like fillMaxSize()) when the window is larger. See Specify size for details.
The v2 API is available alongside the existing API described in the rest of this page, so you can migrate individual windows at your own pace.
Specify and observe state
The v2 API explicitly separates specifying the desired state from observing the actual state.
To specify the initial state of a window, pass providers to rememberWindowState():
To request a state change after the window has been created, call the corresponding method on WindowState. You can specify the exact size and position directly:
Applying a request is asynchronous. The windowing system may adjust the requested state, and the actual state may change later, for example, when you move or resize the window. Observe the actual state of a window via WindowState.screenId and WindowState.bounds:
if (windowState.isInitialized) {
Text("Current screen: ${windowState.screenId}")
Text("Current bounds: ${windowState.bounds}")
}
The same asynchronous model is available for dialogs via DialogState and rememberDialogState().
Choose a screen
You can request the screen on which a window should appear either by passing an initialScreenProvider to rememberWindowState() or by calling WindowState.requestScreen() later. The screen the window is actually placed on is observable via WindowState.screenId.
For example, you can request a window to be placed on a screen whose available width is at least 1024.dp, falling back to the default screen:
To change the window position, either pass an initialBoundsProvider to rememberWindowState() or call WindowState.requestBounds() later. The actual bounds of the window are observable via WindowState.bounds.
The v2 API uses WindowPositionProvider to get information about the screen and parent window geometry.
For standard placements, you can use the built-in properties:
Default applies the operating system's standard cascading behavior.
Current maintains the current position of the window.
CenteredOnScreen centers the window within the screen.
CenteredInParentWindow centers the window within its parent window.
For more control, use position provider functions:
Absolute() places the window starting corner at specified x and y coordinates.
AlignedToScreen() aligns the window relative to the screen and includes an optional offset parameter.
AlignedToParentWindow() anchors the window to the parent window, typically useful for dialogs.
WindowPositionProvider.AlignedToParentWindow(
// Anchors to the starting corner of the parent window
anchor = Alignment.TopStart,
// Applies alignment relative to the anchor point
alignment = Alignment.Center
)
Specify size
Sizing is also part of the window bounds, so it is configured through the same initialBoundsProvider/WindowState.requestBounds() mechanism.
The v2 API uses WindowSizeProvider to get information about the screen and parent window sizes, as well as to query the content of the window for its intrinsic sizes.
Common built-in options include Fixed() for a specific window size and Default for the standard 800×600 dp size.
For custom sizing, a WindowSizeProvider() lambda has access to screen metrics and, for dialogs, parent window metrics:
WindowSizeProvider {
val height = parentWindowMetrics!!.bounds.height
DpSize(300.dp, height)
}
The v2 API enables one commonly requested scenario: size a window to its content's preferred size while still letting the content fill the window when the user makes it larger. WindowSizeProvider.Unconstrained calculates the content's size, adds the window insets, and caps the result at the available screen size. Since sizing is decoupled from layout, content that uses fillMaxSize() still expands to fill the window if the user resizes it.
The v2 versions of the Window() and DialogWindow() composables accept minSize and maxSize parameters. Where the underlying window manager supports it, the user will not be able to resize the window past these bounds: